TRAVERSE Global v11.1
Print Statements
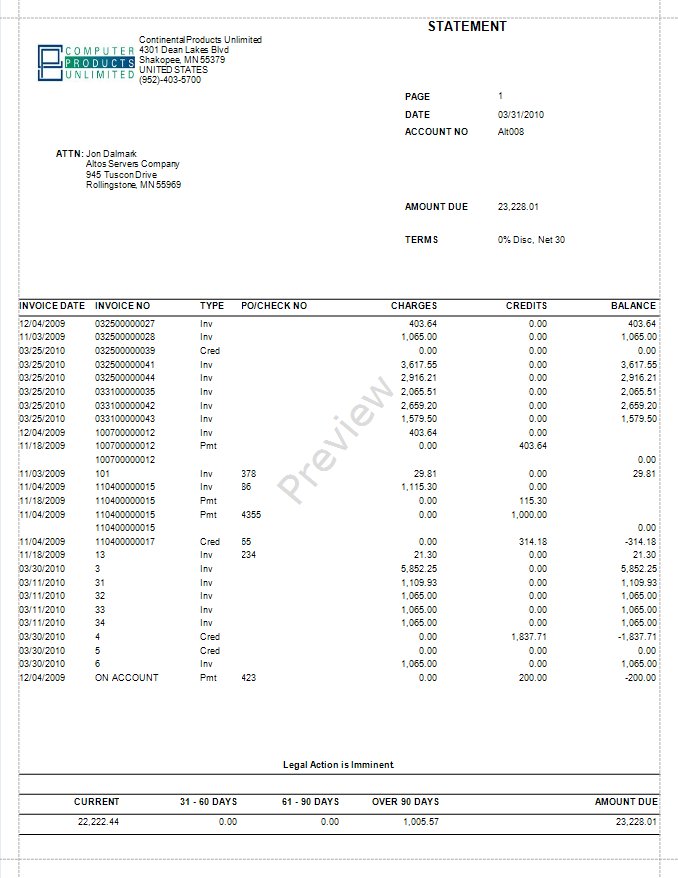
Use the Print Statements function to print customer statements that show transactions and balances. Based on your selection in the Business Rules function, statements can be printed on statement forms or plain paper.
- Use the Data Filter to select the range of filtering options or leave the filter blank to include all available data.
- Select the date by which you want your customer to pay the statement from the Closing field.
- Select the statement date from the Statement field. This is the date by which to age the invoices.
- Select the cutoff date for the statements in the Cutoff field. Invoices with a date after the Cutoff date do not appear on the statement.
- Select the customers to include in the statements from the Print section.
- For All Customers will print a statement for all customers that have the Stmt/Invoices selection in the customer setup set to Statements or Both. This applies to all the print selections.
- For All Customers With Activity will print a statement for all customers that have open invoices.
- With Nonzero Balances will print a statement for all customers that have a balance that is not zero. Their balance can be either a positive or negative balance.
- With Positive Balances will print a statement for all customers that have a positive balance, or they need to pay you for open invoices.
- With Balances 30+ Days Old will print a statement for all customers that have a balance that is older than 30 days. This will also include customers with 60 and 90 days old balances.
- With Balances 60+ Days Old will print a statement for all customer that have a balance that is older than 60 days, this will also include all customers with 90 days old balances.
- With Balances 90+ Days Old will print a statement for all customers that have a balance that is older than 90 days.
- Select the YTD Finance Charge check box, if applicable, to include year-to-date finance charges in the statements.
- Select the sort criteria for the statements from the Sort By section.
- Edit, if applicable, the messages in the Dunning Messages section. The default messages entered in the Message - Statement Dunning section of the Accounts Receivable Business Rules appears by default in this field.
- Click a command button to
| Click | To |
| Print statements. | |
| Preview | View a preview of statements. |
| Reset | Set all fields to their default values. |
| Output | Output statements as PDF, HTML, MHT, PNG, or RTF files. |
| Activity | Open the Activity Log dialog box where you can view information from previous file creation. |