TRAVERSE Global v11.1
Activity Report
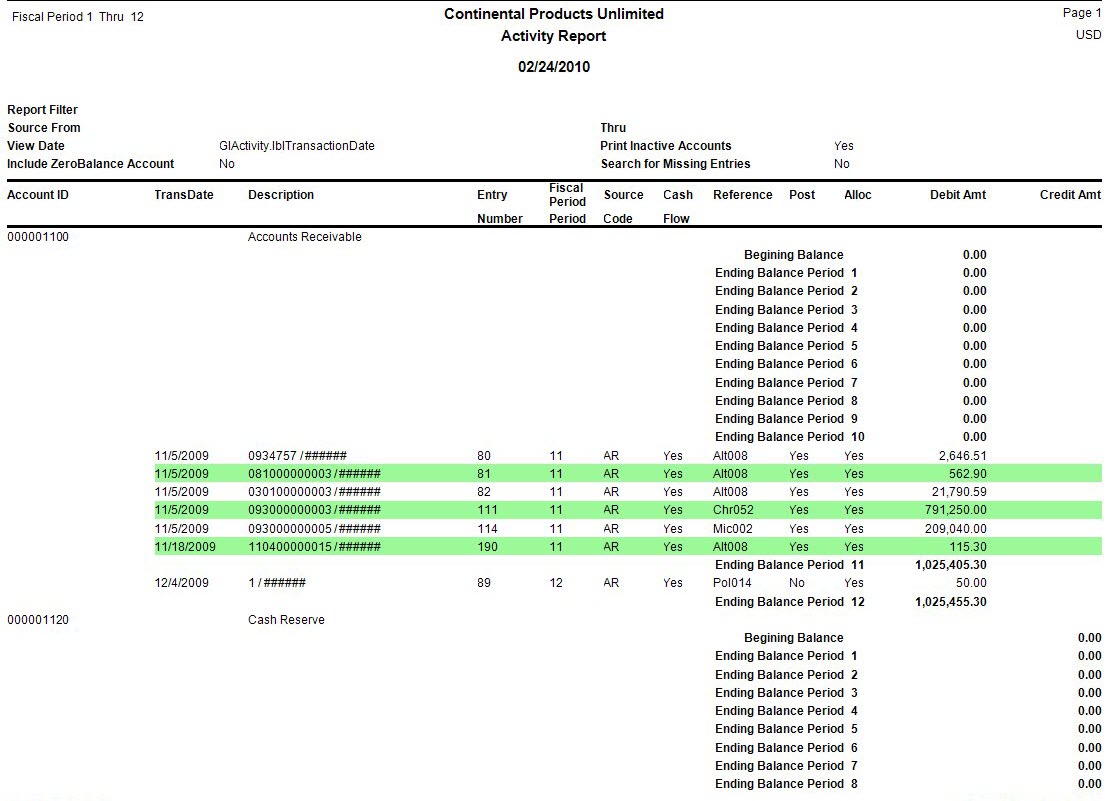
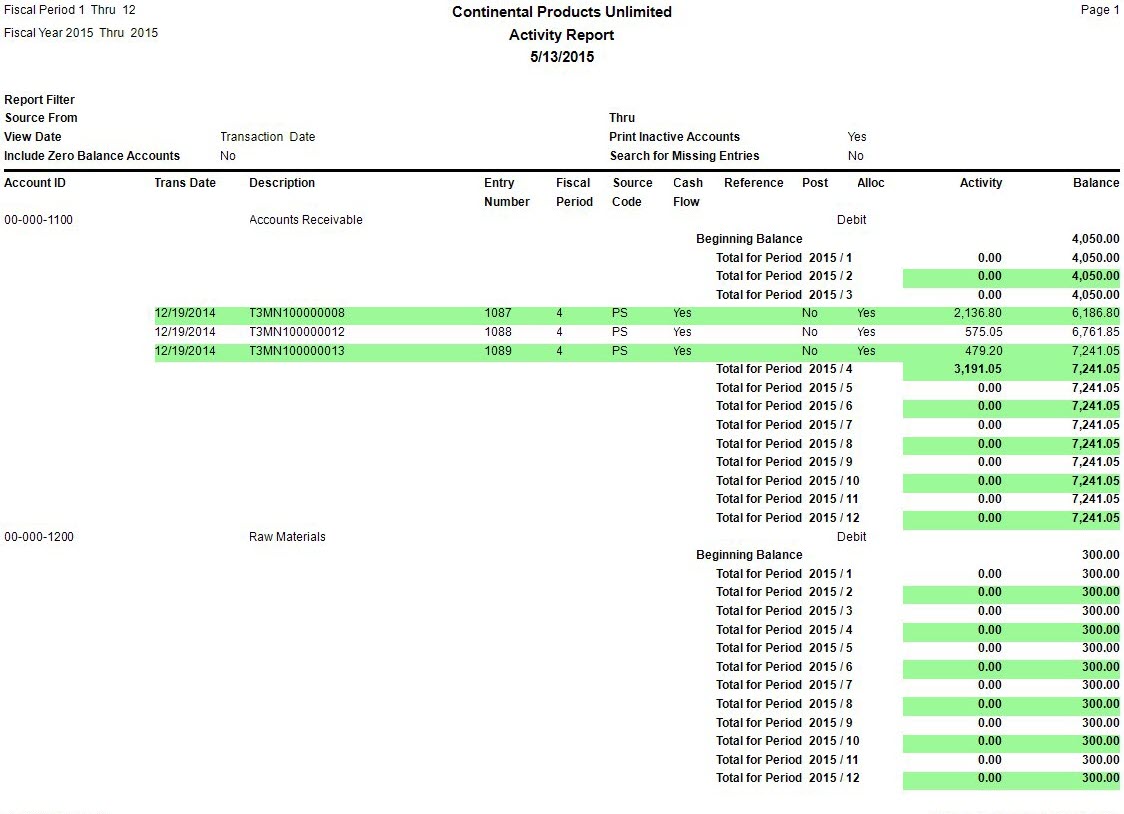
The Activity Report lists transactions, the accounts they belong to, and the ending period balances of each account. If you print the report at the end of each period or for a range of periods, you can see the activity an account has during that time - how much the balance changed and which transactions affected it.
The report also shows activity Totals in each period.
You can produce four types of activity reports that serve several purposes:
- A report for information pertaining only to accounts that show activity for one period or a range of periods.
- A report of all accounts for one period or a range of periods, regardless of whether some of the accounts show activity.
- A report of all periods, all source codes, and all accounts, which you might want to produce only at the end of the year.
- A report that shows a running balance for each account and transaction
- Use the Data Filter to select the range of filtering options or leave the filter blank to include all available data.
- Select the range of fiscal periods to include in the report from the Fiscal Period From, Thru, and Year fields. You may select a range that spans fiscal years for more complete reporting.
- Enter the range of source codes to include in the report in the Source Code From and Thru fields.
- Select whether to print transaction or post dates in the report from the View Date section.
- In the View section, select whether to print the report with two columns (shows debit and credit amounts for each transaction form the selected criteria) or with a running balance (shows the account balance at the time of each transaction).
- Select, if applicable, the Print Inactive Accounts check box to include inactive accounts for the periods selected; otherwise, clear the box.
- Select, if applicable, the Include Zero Balance Accounts check box to include accounts with zero balances in the report for the periods selected.
- Select, if applicable, the Search for Missing Entries check box to include missing entries in the report; otherwise, clear the box. When you check this box, the report programs will look to the GL Journal transactions that have been posted to master and add the amounts posted for each period included in the selections for all accounts included in the selections. The programs will then look to the Account Balances for the amounts listed there and compare the amounts for each period and account to see if there are any differences between the total amounts posted to master and the amounts shown.
If there is a difference between the Account Balance amount the posted to master and the amount from the GL Journal, a record will be added to the period with the difference and will have Missing Entry listed in the Description field.
To correct the out of balance missing entry call TRAVERSE technical support at 1-800-320-3088 for instructions.
- Select a currency, if applicable and using multicurrency, for the report from the Report Currency field.
Note: Only accounts that use the currency you select here, and their transactions, print in the report. - Select, if applicable, the Banded Rows check box to highlight alternating lines on the report to make the report easier to read.
Note: Use the System Manager Print Preferences function to define the default setting for this check box. You can then override this default when you print the report. - Manage the sorting order for account IDs using the Account ID Sort section.
- Enter the headings you want to print on the report in the Headings section.
- Click a command button to
| Click | To |
| Process the Activity Report. | |
| Output | Output the report as a PDF. |
| Send | Save the report as a PDF and attach it to an email using your default mail program. |
| Preview | View a preview of the Activity Report. |
| Reset | Set all fields to their default values. |


