Traverse v11.2 Administrator Guide
Installing the Traverse Client
Before installing the Traverse Global Client, make sure that you follow the steps to install and set up the Global Server Manager (see Install Traverse Global Server Manager for more information) .
After you have installed and set up Global Server Manager, use this section to install Traverse Global Client.
Tips:
- Version 11.2 of the Traverse Global Server Manager, Global License Manager, and Client installations are distributed in an ISO file. Before you start the installation, you must either burn the ISO file to a CD or DVD or mount the ISO as a virtual drive on the server.
- If you already have TRAVERSE v11.1, you cannot use the v11.1 Server Manager, License Manager, or Client with Traverse v11.2. You must install the Traverse v11.2 Global Server Manager and Global License Manager in a separate location, and assign the Global License Manager its own port.
- When available during the installation process, you can click Cancel to exit the procedure or Back to return to the previous window.
Follow these steps to install the Traverse Global Client:
- To start the installation process, go to the Client directory in the ISO file and run the setup.exe file.

- There are some required components that must be installed before the Traverse Global Client can be installed. If there are required components to be installed, the setup wizard will display a pop-up window listing the required components to be installed. Click Install to continue.
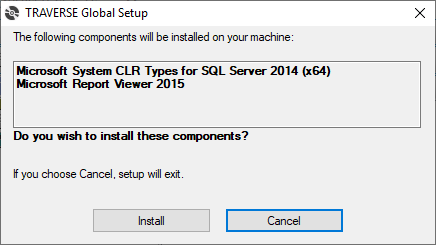
- Once the required components are installed, the Traverse Global Client installation wizard welcome screen will appear.
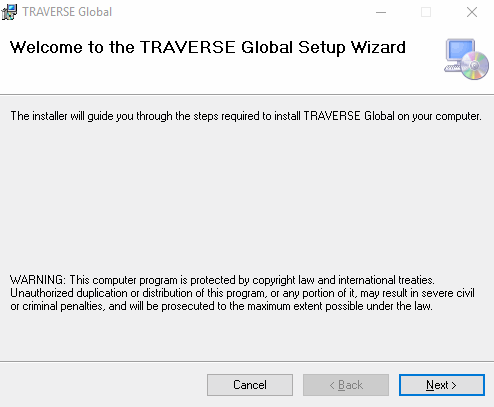
Click Next to continue.
- Accept the default installation folder (recommended), or use the Browse... button to select a different installation location.
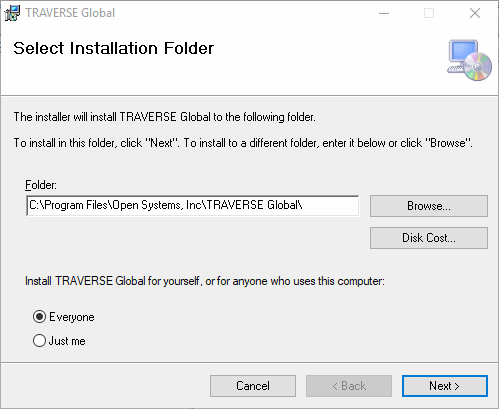
Select the Everyone radio button (recommended) if you want to install the Traverse Global Client for anyone who uses this computer, or select the Just Me radio button to install the client for yourself only.
Click Next to continue.
- The End User License Agreement appears.
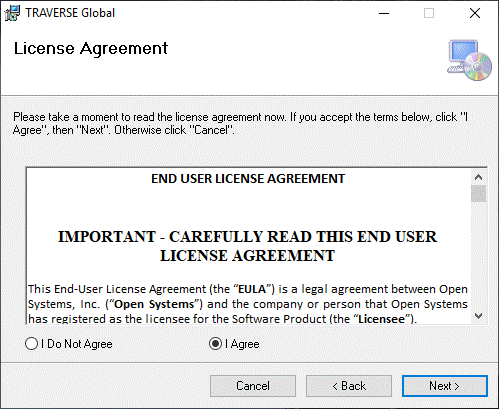
Review the license agreement and click I Agree to accept the terms, or I Do Not Agree to exit setup.
Click Next to continue.
- The Configure Traverse client window appears. Accept the default values (recommended) or enter the License Server Host Name, Port Number, and default SYS Database for the Traverse Global Server Manager. NOTE: Make sure the License Server Port Number is correct.
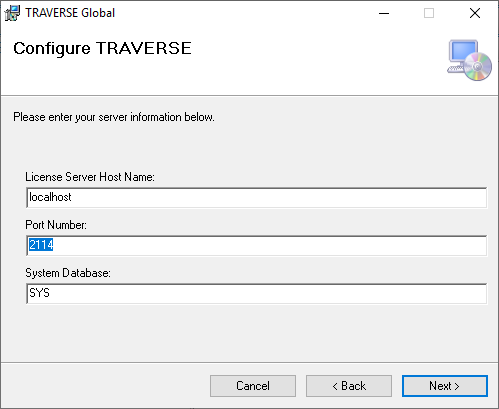
Click Next to continue.
- The installation window will appear and display the progress of the installation.
The Installation Complete screen appears when the installation is finished.
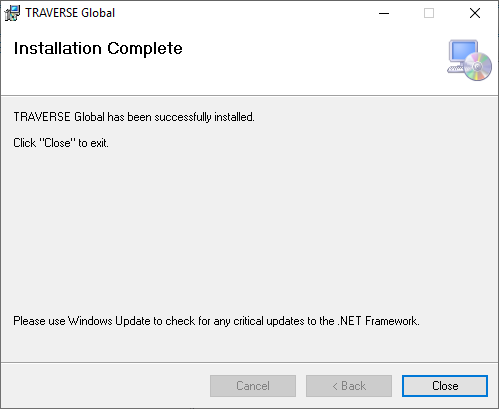
Click Close to exit the wizard.
