Traverse Global v11.2 - Service Repair
Report Designer - Inspection Report Designer
Use the Traverse Design Studio Report Designer to edit reports. You can select a configuration and/or inspection and save it as a new report layout. You have options to select question and answers along with inserting images, text, and document signature fields.
Because this process may be used on a regular basis, this topic will be more detailed than the Report Designer topic in the Administrator's Guide. However, the best way to learn how to use the Report Designer as well as the many other functions available in Design Studio, is to utilize available training programs. Contact your software provider for more information.
Report Designer
The Report Designer lists all of the available functions associated with reports for which you can adjust the layout. The Inspection Report Designer is listed on the Inspections menu.
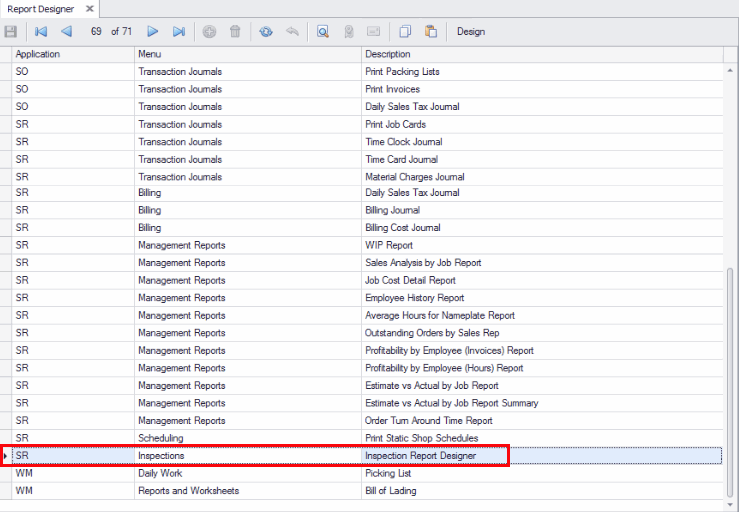
To edit the layout of an inspection report, choose the Inspection Report Designer from the list and use the Design button on the toolbar.
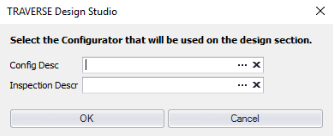
In the popup window that appears, select a configuration from the Config Desc drop-down list, and/or select an inspection tied to a specific job from the Inspection Descr drop-down list.
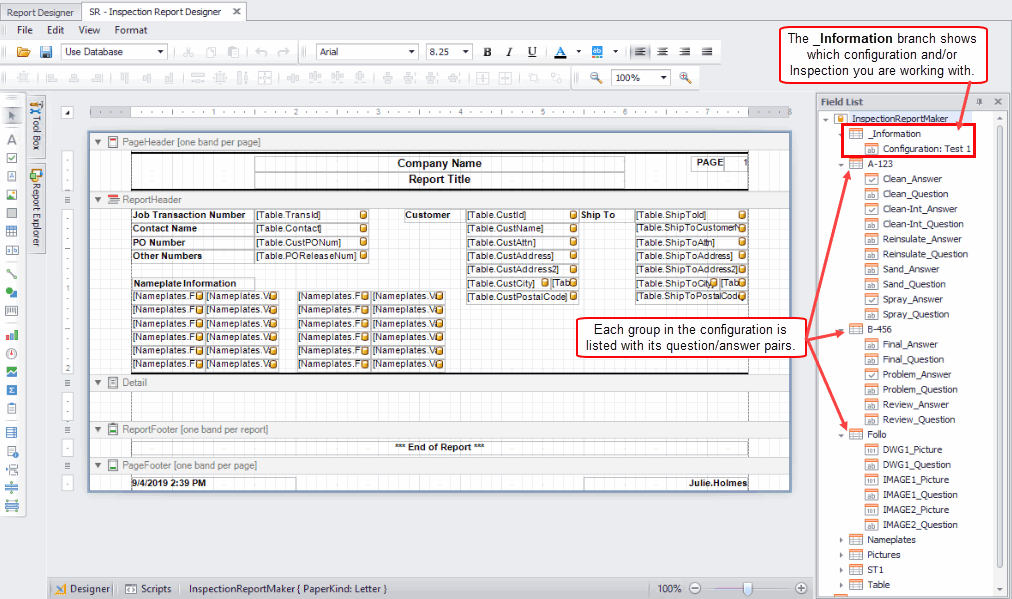
The Report Layout window opens the default report layout with standard header fields included. The fields for the configuration or inspection you have chosen to edit are displayed in the Field List panel.
Tip: Use the Pin ( )/Unpin (
 ) icons to keep the panes visible or allow them to hide.
You can change the layout of the reports using the sections of the Layout window. You can drag, resize, or dock any section in or outside the main form at your discretion.
The designer section of the Layout function displays the elements, or controls, of the report and their location within the report. The default report layout gives you a starting point for your inspection report by including header information such as job transaction number, customer name and address, ship-to name and address, and nameplate information in the header section of the report.
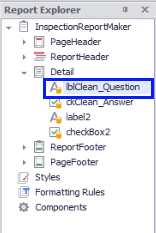
The controls on the report are listed in the Report Explorer panel. Labels, indicated by the "lbl" prefix, are sometimes not bound to a field--you enter the text that will always appear in the control. Text controls, indicated by "txt", are usually bound to fields in the database and will reflect the current value of the field when the report is printed. The small yellow database/cylinder icon on the control indicates the control is bound to a field in the database.
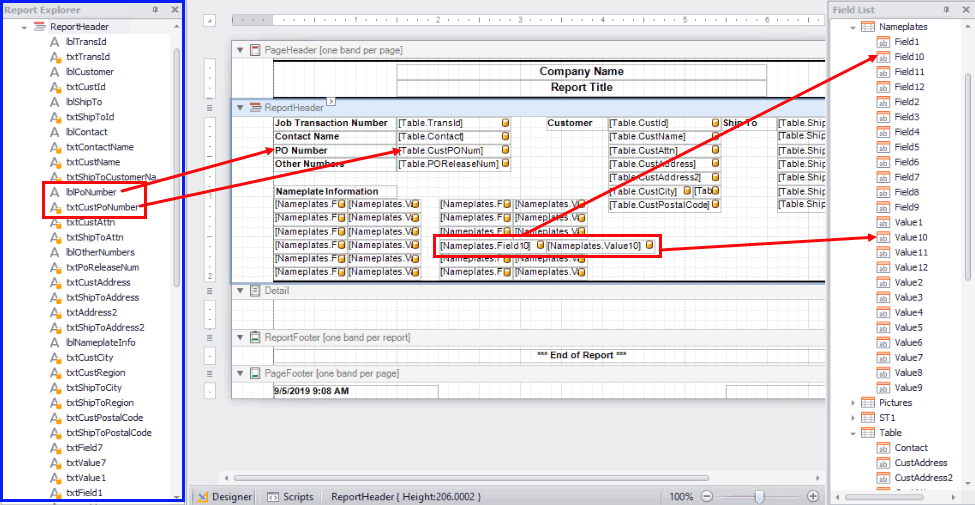
The available fields for the report are listed in the Field List panel. The text fields that are bound to table fields show the source of the data. For instance, a text field that shows [Nameplates.Field10] indicates the control is bound to Field10 under Nameplates. This means it will show the current database value in that field.
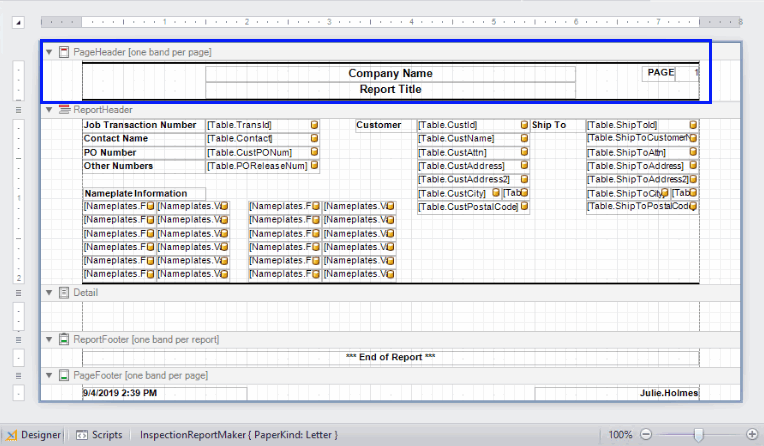
The report is divided into "bands". Each band represents a data group on the report. The bands that appear once on every page of a report are labeled "PageHeader" and "PageFooter". The bands that appear once on each report are labeled "ReportHeader" and "ReportFooter". Notice the header information, including customer address and nameplate information, is located in the ReportHeader band. This information will appear only once at the beginning of the report.
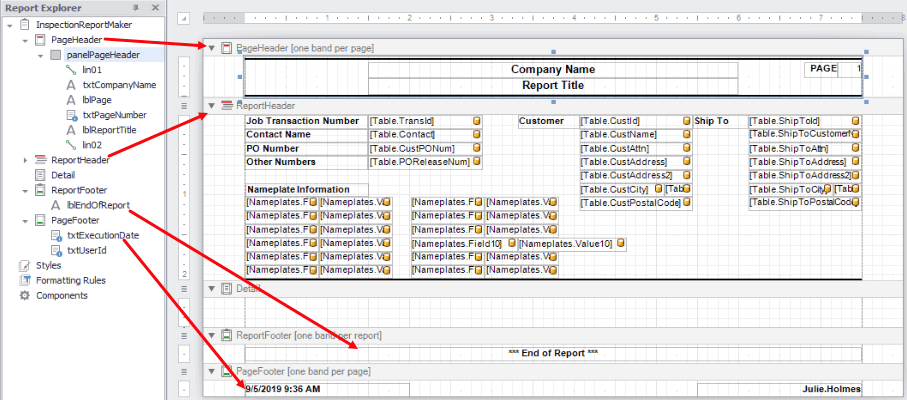
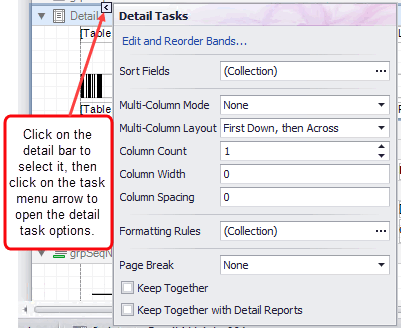
The bulk of the report should be placed in the Detail band. The information in the Detail band will carry over onto as many pages as necessary.
Click and drag the bottom of the Detail band to resize it.
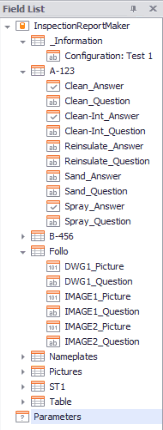
The easiest way to add fields to the report is to drag and drop fields from the Field List panel. Select a field from the Field List pane. Drag the field onto the report and drop it into position. Repeat the process for each field you want to appear on the report.
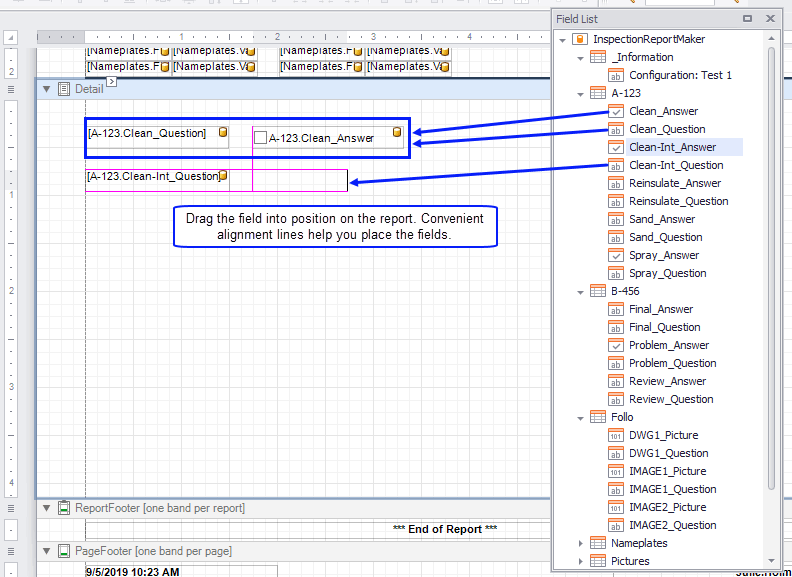
Note that the fields you add will appear as controls in the Report Explorer, but with generic names.
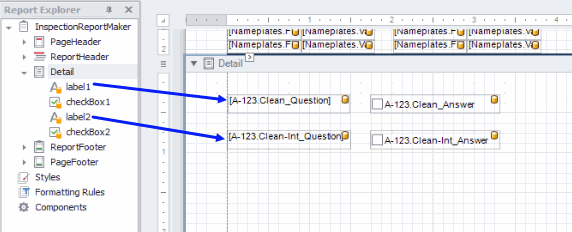
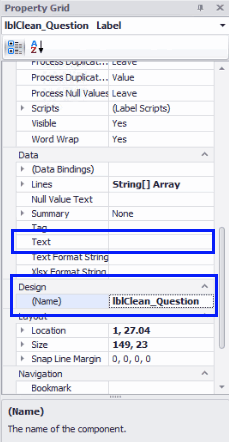
To avoid confusion when you have a number of controls on the report, rename each control according to the usual conventions, i.e. label control names begin with "lbl", text control names begin with "txt". To rename a control, right-click on the control and open the Property grid.
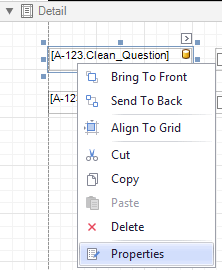
In the Property Grid for the control, find the Name property in the Design section. Change it to something meaningful. Also, clear the value in the Text property. Notice the control's new name appears in the Report Explorer.
 WWWWW
WWWWW
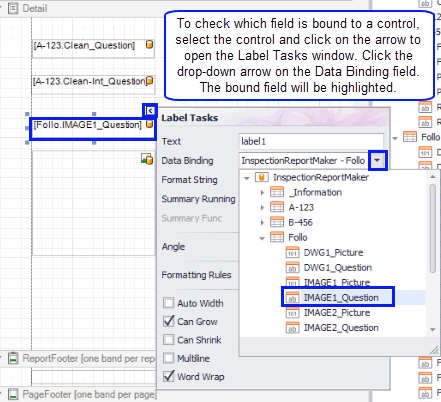
You can do the same with picture or signature fields. If you have a control on the report but do not know which field is bound to it, select the control and click on the arrow that appears. The Label Tasks window will open. Click on the drop-down arrow for Data Binding. The bound field will be highlighted.
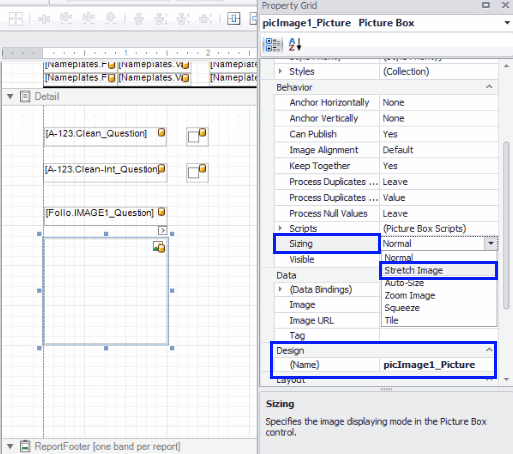
You can resize controls by dragging the sizing squares, as is common in many programs. If you are adding pictures to the report, the control that contains an image or picture is a picture box. In order for a picture or image to be sized correctly in the control, find the Sizing property in the property grid for the picture. Select "Stretch Image" from the drop-down list. This should allow the image to fit the control.
You can add additional pictures and/or a signature to the report. Up to 20 pictures in addition to pictures that are part of an inspection configuration are available to add to the report. The fields where these images are stored, as well as the Signature field, are in the Pictures branch in the Field List. Note the image fields are numbered. Make sure when you add image fields to your report that you do so starting with the first image and continue with the next sequential image field. Also remember to reset the sizing property for each image to "Stretch Image".
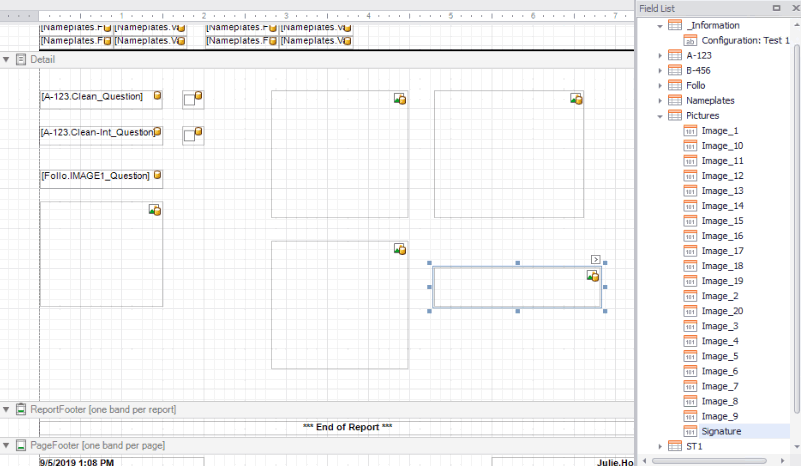
In order for a picture to appear on the report, there must be a control for it. It is recommended to add up to eight images as a standard to an inspection report. If you know for certain a particular inspection will have more than 8 images on a regular basis, then add as many additional image controls as needed. If there are more image controls on the report than there are pictures, such as only 3 pictures but 8 image controls on the report, the extra image controls will be blank (but the space will still be allocated to those image controls) when the report is printed. This means if there are fewer pictures than image controls, there will be white space on the report where the empty image controls are.
When you use the Inspection Reporting function in Traverse to assign a layout to an inspection, you also enter the number of pictures that are on the report.
Once you have finished creating the inspection report, save it. When you click Save, a Save As dialog box will appear.
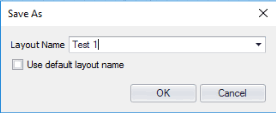
Make sure you clear the Use default layout name check box and enter a descriptive name in the Layout Name field. If you edited an existing report, select that report in the Layout Name drop-down list.
Click OK to save your inspection report layout.
Additional details about the various panels and other functions of the Report Designer are below.
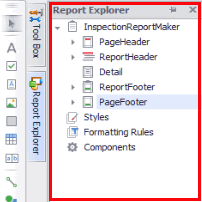
The Report Explorer provides easy navigation through report controls. You can use the explorer when you build a report to quickly access all the controls of a report and their properties, and to see the whole form's structure.
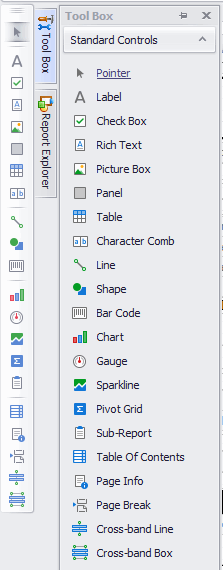
The Tool Box displays report controls that you may drop into the form. To do so, select a Tool Box item and drop it onto one of the report bands.
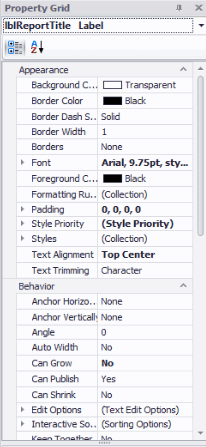
The Property Grid displays the property values of any control you highlight in the form. To view the property grid for a field, select a field in the Designer, then right-click and select 'Properties' from the menu.
Use the toolbar buttons to change the font properties of text controls within the form, or to zoom in or out on the form. You can also use any of a number of element alignment options when selecting one or more controls in the Designer section.

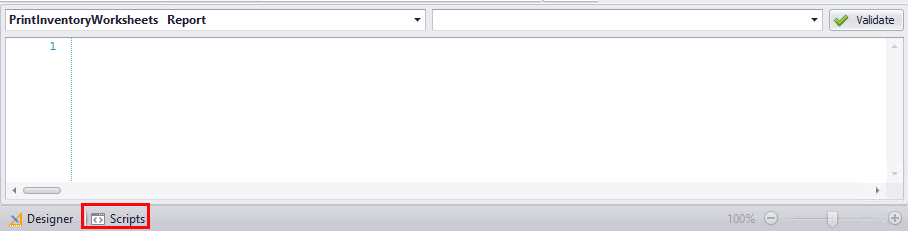
If you want to add scripting to the report, use the Scripts window. Click on the Scripts button on the toolbar at the foot of the Designer. Click on the Designer button to return to the Designer window.
Use the Field List panel to add additional fields to the report. Tables and fields are arranged in tree format; expand the table branch of the tree and drag the desired field from the panel onto the report. Remember to add both the question and the associated answer to the report.
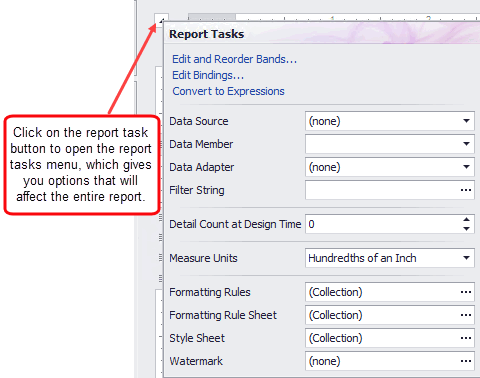
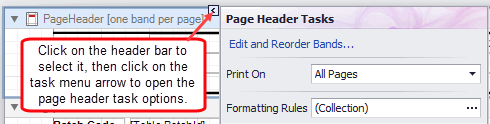
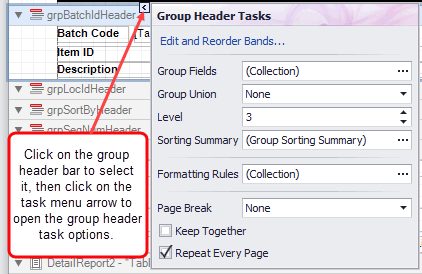
Additional options you can use to format reports are available on the right-click menu for grouping headers, as well as for the entire report. Alternately, you can right-click on each section's bar to see the alternate menu.
Report Tasks
Page Header Tasks
Group Header Tasks
Detail Tasks
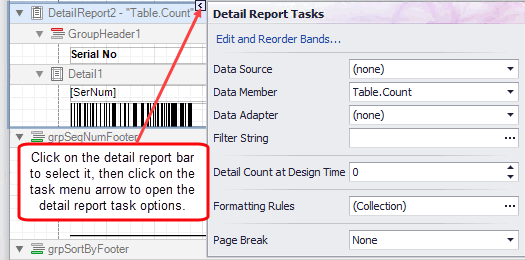
Detail Report Tasks
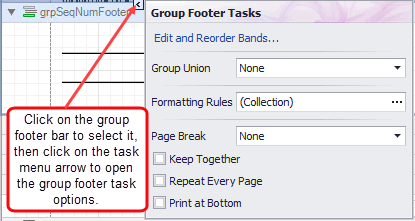
Group Footer Tasks
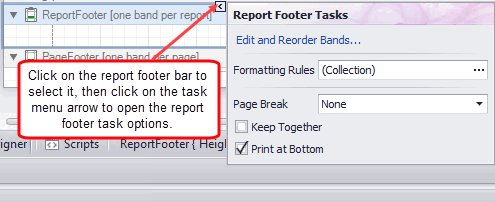
Report Footer Tasks
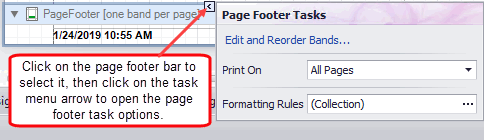
Page Footer Tasks
The additional tasks you can find on these menus varies depending on the section you select. Most options are self-explanatory. For instance, the selection to 'Print at Bottom' indicates the section will print at the bottom of the page of the report, and 'Repeat Every Page' means the section will print on every page of the report. A mark in the 'Watermark' check box will print a watermark on each page of the report.
The Edit and Reorder Bands ... link opens the Report Editor. The Report Editor displays the sections of the report in a hierarchical tree, which allows you drag and drop sections into a different order. The editor also allows you to add or remove sections, as well as set the properties of the selected section.

The Print On function allows you to select when the section will print:
- All Pages -- The section will print on all pages of the report.
- Not with Report Header -- The section will print on any page without the report header.
- Not with Report Footer -- The section will print on any page that does not have the report footer.
- Not with Report Header and Report Footer --The section will print on any page that has neither the report header and the report footer.
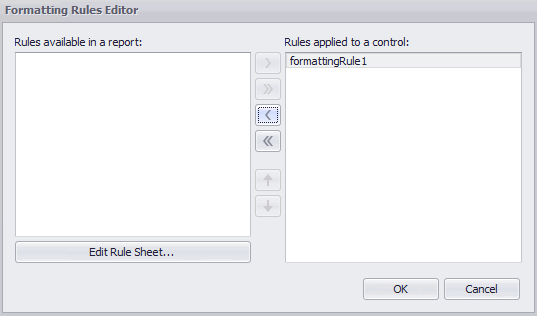
The Formatting Rules function allows you to create conditional formatting rules to apply to the report section. When you click on the ellipsis of the Formatting Rules field, you will open the Formatting Rules Editor screen.
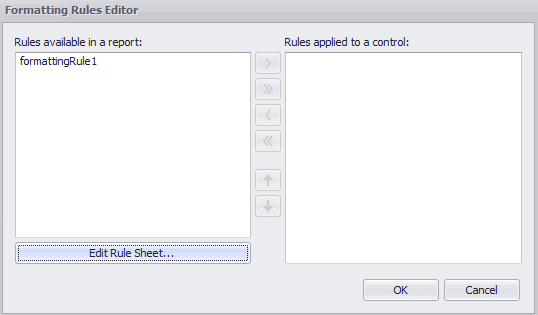
Existing rules in the report will appear in the left panel. To edit or add rules, click the Edit Rule Sheet ... button. The Formatting Rule Sheet Editor screen opens.
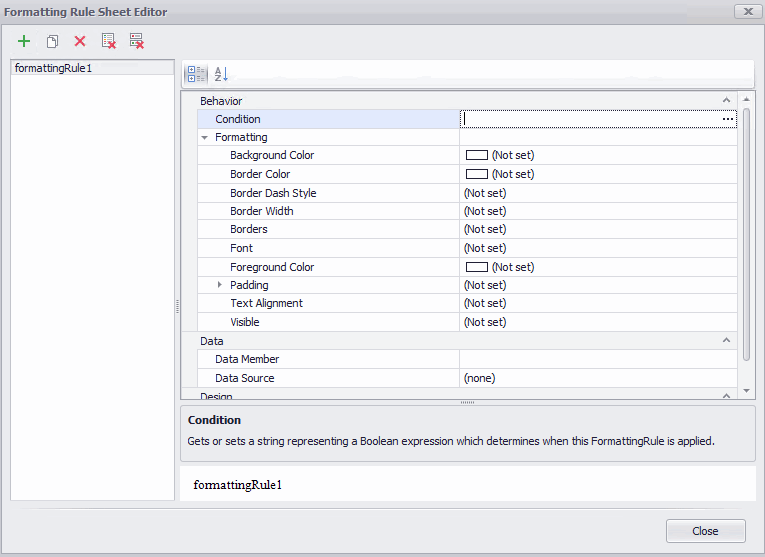
Click the plus icon to add a formatting rule. In the right panel, a properties section allows you to create a condition to determine formatting, as well as formatting options. Click on the ellipsis in the Condition field to open the Condition Editor.
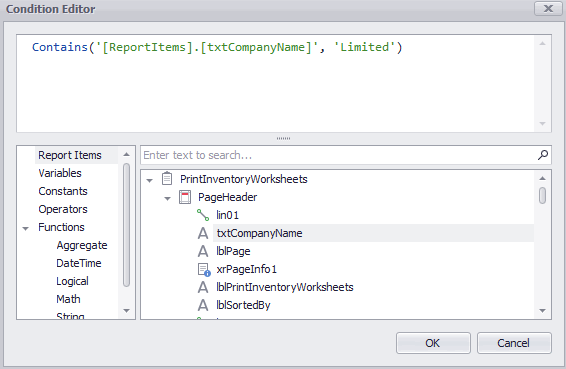
Create a condition that will determine formatting. When finished, click OK to return to the Formatting Rule Sheet Editor. The condition field will show the condition you created. Edit the formatting properties as desired.
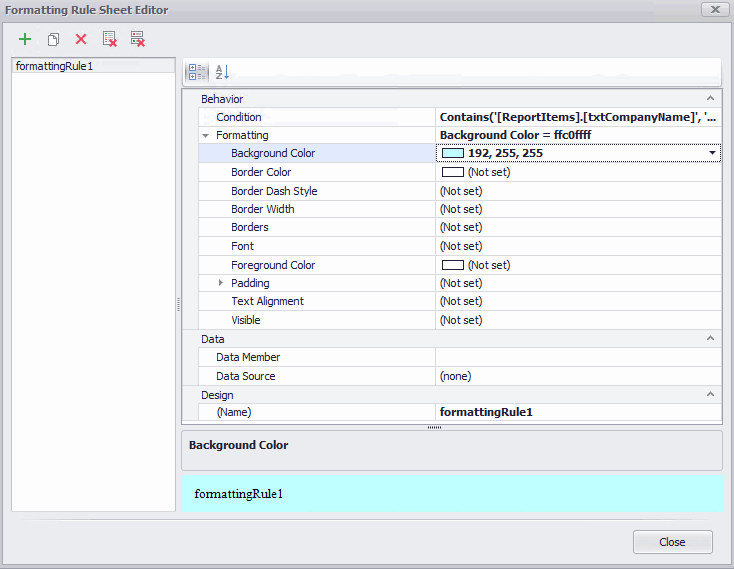
Once you are finished adjusting the formatting, click the Close button. The rule(s) appear in the Formatting Rules Editor. To apply a rule to the report, select a rule in the left panel. The directional arrows become active. Use the directional arrow to move the rule into the right panel, then click OK.
The formatting should appear in the selected report section when the condition you created is 'True', such as using red font if a value is greater than another value.
Saving Design Changes
To save your form or report changes, click Save in the Layout toolbar. By default, the layout is saved to the database. To save the layout in a file, select 'Use File' in the toolbar drop-down list. A file window will appear, which allows you to navigate to the location where you want to save the layout file.