Traverse Global v11.2 - Service Repair
Payment Register
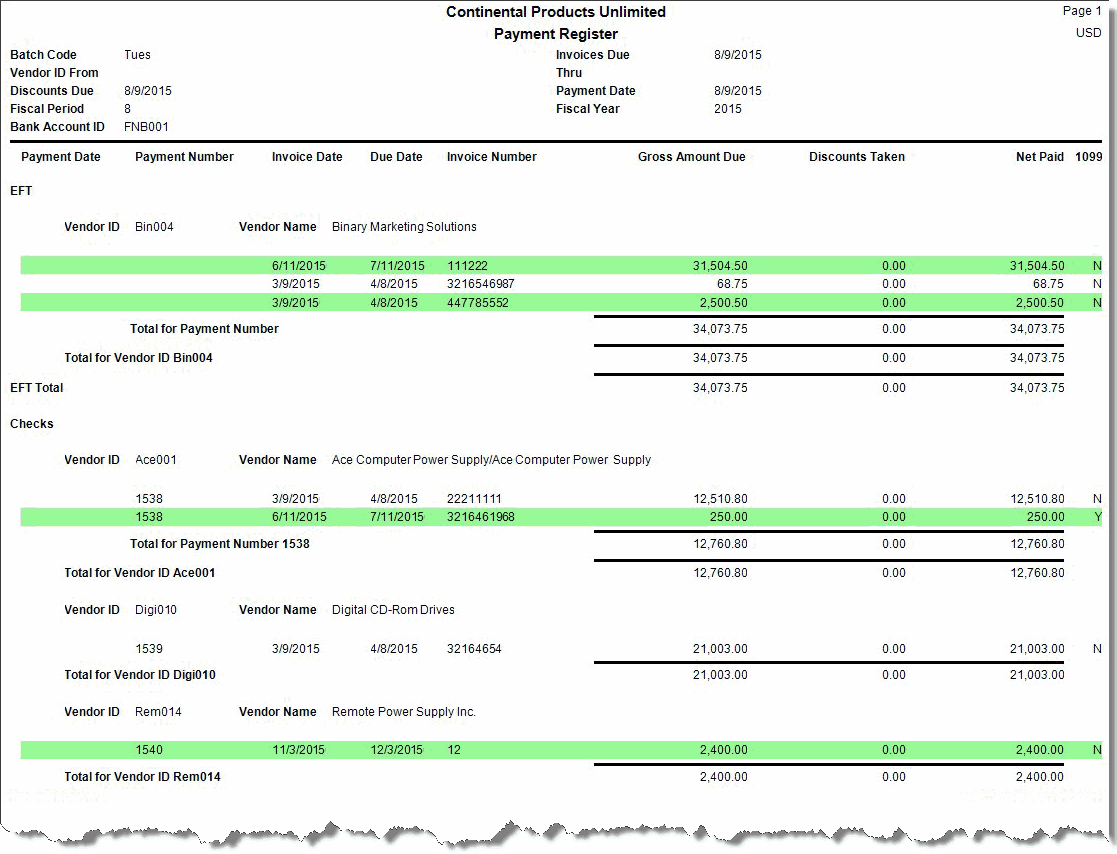
Use the Payment Register as an audit trail of the checks your company issues to vendors.
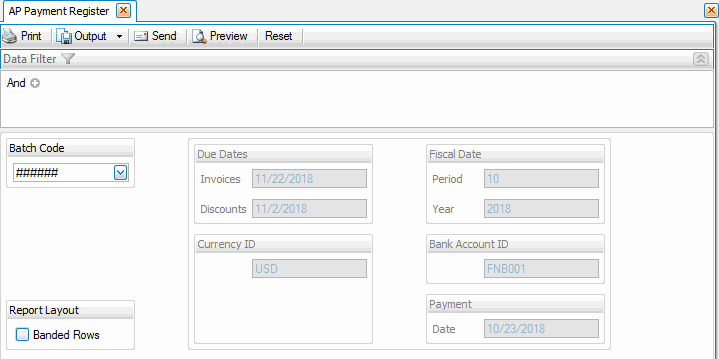
The Payment Register has two parts. The first part lists the payments you used to prepay invoices since the last time you posted payments. The second part lists the payments you prepared and for which you printed checks and vouchers. The date, vendor IDs, currency, discount date, check date, general ledger period you selected when you prepared payments, the bank account ID, and the payment exchange rate appear on the screen.

- Use the Data Filter to select the range of filtering options or leave the filter blank to include all available data.
- Select the batch code containing the prepared payments from the Batch Code field. This is only available when you selected Yes to use the batch processing in the business rules function.
- The Invoices Due Date, Currency ID, Discounts Due Date, Payment Date, Fiscal Period and Year, Bank Account, and Payment Exchange Rate you selected when you prepared payments are displayed.
- Select, if applicable, the Banded Rows check box to highlight alternating lines on the report to make the report easier to read.
Note: Use the System Manager Print Preferences function to define the default setting for this check box. You can then override this default when you print the report. - Click a command button to
| Click | To |
| Process the Payment Register. | |
| Output | Output the register as a PDF. |
| Send | Save the register as a PDF and attach it to an email using your default mail program. |
| Preview | View a preview of the Payment Register. |
| Reset | Set all fields to their default values. |
