Traverse Global v11.2 - Service Repair
Ship-To Addresses
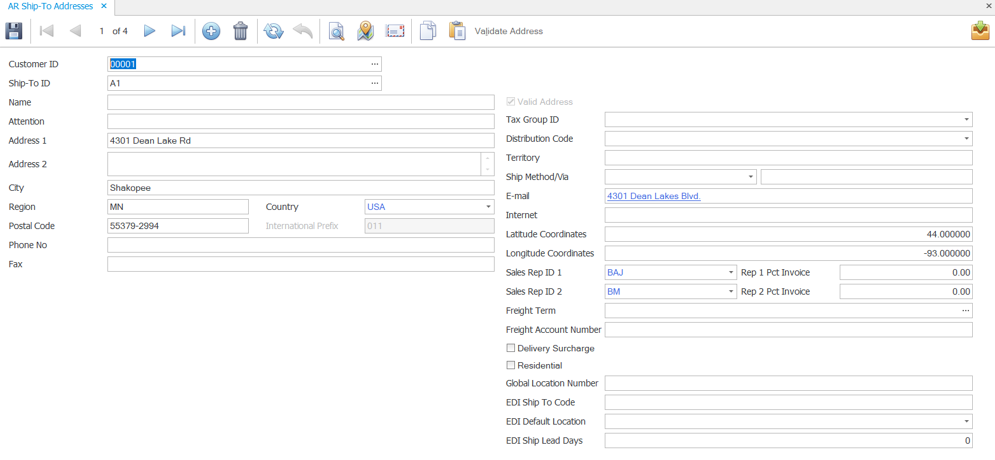
Use the Ship-To Addresses function to enter, assign, change, and delete shipping addresses. When you begin entering transactions, you can easily pull up the ship-to ID for your customers if you predefine it.
You can use the Validate Address button to validate the address. Upon successful validation, the Valid Address checkbox will be automatically selected, indicating that the address has been validated.
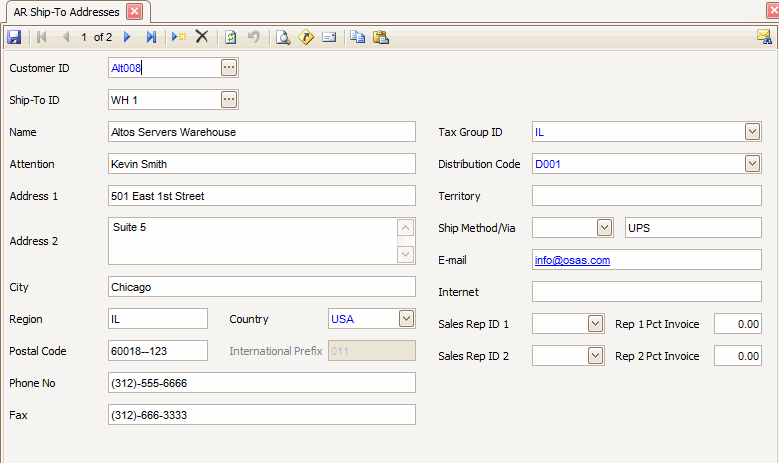
Ship-To Address screen
Creating a Ship-To Address
- Click the New button, on the toolbar, to open a blank ship-to address record.
- Select a customer ID from the Customer ID field.
- Enter a new ship-to ID in the Ship-To ID field.
- Enter the customer's name in the Name field.
- Enter the name of the person or department to receive shipments in the Attention field.
- Enter the customer's address in the Address, City, Region, Country, and Postal Code fields.
Use Ctrl + Enter to start a second line in the Address 2 field, if needed.
Note: Use the System Manager Country Codes function to set up postal code masks, international prefixes, and international prefix masks. - Enter the customer's contact information in the Phone, Fax, and Email fields. Use the System Manager Country Codes function to set up phone and fax masks, if necessary.
Note: You can launch your default e-mail program and send an e-mail to the customer or launch the customer’s web page by clicking the link in either field. - Select the customer's ship-to tax group ID from the Tax Group ID field. Use the Tax Location Groups function in System Manager to set up tax group IDs.
If the ship-to tax group ID is different than the customer’s tax group ID you will be prompted to use the ship-to tax group to calculate the sales tax. You have the option to use the ship-to tax group or the customer tax group.
- Select a ship-to distribution code from the Distribution Code field. If the ship-to distribution code is different than the customer’s distribution code, the ship-to distribution code GL accounts will be used for the invoice.
- Enter a territory, if applicable, in the Territory field.
- Select the default shipping method from the Ship Method/Via field. A description of the ship method appears. The system saves the Ship Method/Via information with the transaction and prints it on the invoice
- Enter the customer's E-mail address and Internet website address.
-
Enter the Latitude Coordinate of the customer region.
-
Enter the Longitude Coordinate of the customer region.
- You can utilize sales rep information in the ship-to entity of Traverse for commission purposes. Select the ID(s) of the Sales Rep(s) who may earn commission from this ship-to location, and enter the default Percentages of invoices for the sales reps. Each sales rep. can receive as much as 100 percent of a sale.
-
The following fields are applicable only for the Shipping application:
- Select a Freight Term from the drop-down list.
- Enter the carrier account number in the Freight Account Number field.
- Mark the Delivery Surcharge check box if the ship-to address has a delivery area surcharge, such as if the delivery is to a remote area that requires an extra charge to deliver the package.
- Mark the Residential check box if the delivery is to a residential address.
- Enter the ship-to location's GLN number into the Global Location Number field.
- Click the Save button, on the toolbar, to save the new ship-to address.
Editing a Ship-To Address
- Select a ship-to address to edit from the Customer ID and Ship-To Address fields.
- Edit the fields as necessary.
- Click the Save button, on the toolbar, to save any changes made to the ship-to address.
Deleting a Ship-To Address
- Select a record to delete from the Customer ID and Ship-To Address fields.
Note: Verify the customer records and transactions do not currently use the ship-to address you want to delete. - Click the Delete button, on the toolbar, to delete the selected ship-to address.
- Click Yes at the "Are you sure you want to delete selected record(s)?" prompt.
Use the Ship-To Addresses List function to produce a list of the ship-to addresses you defined in the Ship-To Addresses function.
Use the Ship-To Address Labels function to print the selected size shipping labels.