Traverse Global v11.2 - Service Repair
Statement Processing - Overview
Bank Reconciliation functionality includes the ability to capture, retain, and utilize bank account statement information. You can use the statement information for identifying, matching, and providing reference information for cleared transactions.
There are two Reconciliation Reports on the Reconciliation menu. The first one is obsolete, and only used for backwards compatibility. By default, the obsolete report is hidden from the menu.
The second report represents the extended features listed throughout this section.

Workflow
- In the Cleared Transactions screen, you must first select a Bank Account ID on the header section of the screen. On the Statement tab, enter the information from your bank statement.
The Fiscal Period/Year values for new statements will default to the period and year based on the Ending Date within the period conversion table. Users can change the values to any valid Fiscal Period and Year and the same period and year values can be used on multiple statements for a given bank account.
In the example below, the Beginning Balance is $1,140.55 for bank account FNB002 September’s statement. The Ending Balance of $2,133.05 should match the Adjusted amount, which is also the total amount of transactions cleared.
The Entry Count field is optional and is designed for users to enter how many transactions have cleared on their statement.
Note: The Entry Count field is optional and is designed for the user to enter how many transaction entries are included in the statement.
The field values at the bottom of the screen are automatically updated:
Currency ID: The currency assigned to your bank account.
Current GL Balance: Transactions posted to GL, but not necessarily posted within GL.
The balance does not include unposted/posted journal entries outside fiscal year or period on the Statement tab.
NOTE: If transactions are entered in GL to the GL bank account, those entries will not exist in BR and the bank account balances will not match.
This Current GL Balance amount can also be found on the GL Subsidiary Ledger Audit View under new BR heading for the GL account assigned to the Bank Account.
Outstanding: The total amount of transactions that have not been cleared on the Deposits, Disbursements, Adjustments and Transfers tab.
Adjusted: The total amount of Cleared transactions on the Deposits, Disbursements, Adjustments, and Transfers tab.
Statement: The Ending Balance entered on the Statement tab.
-
On the Deposits, Disbursements, Adjustments, and Transfers tabs, mark the records that have been Cleared on your bank statement.
NOTE: In this example, there are no Adjustments or Transfers. - When finished, select the OK button (
 ) on the toolbar to process the cleared transactions. This process links the selected Cleared entries with that statement so they will no longer be displayed when processing other statements.
 -
Finally, select the Change Status button (
 ) on the toolbar to mark the statement as Reconciled.
This is optional, but it prevents the user from updating additional transactions for this statement. Users are able to change the status back to Open if changes are needed.
) on the toolbar to mark the statement as Reconciled.
This is optional, but it prevents the user from updating additional transactions for this statement. Users are able to change the status back to Open if changes are needed. - After reconciling your statement, you can now print the Bank Reconciliation Report by Statement Date. The option to include Unposted GL Journal Entries in Balance has been removed because all entries are now included. Only cleared transactions for the given statement will be returned and outstanding transactions will include all entries thru the reconciled Period/Year. Entries cleared on a future statement or voided after the Reconcile Period/Year are considered to be outstanding as of the selected statement.
- You can also print the Bank Account Register. The option to include Unposted GL Journal Entries in Balance has been removed because all entries are now included. You also have an option to Include Cleared Transactions.
- You can review transactions using the Register View.
- The use of the Purge Cleared Transactions function is not required since cleared transactions are assigned to specific statements and will not be included with subsequent reconciliation processing. The purge function process has been revised to work with statement-based sets of data and will not remove entries for statements with an “Open” status. The statement status must be changed to “Reconciled” before the cleared entries can be removed from the system.
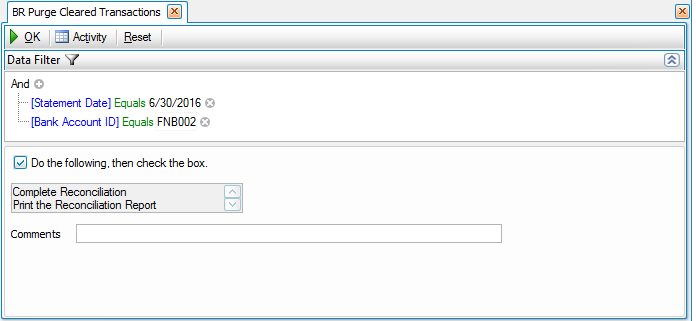
Once a purge is completed, you are able to use the Activity Print Log to view transactions that were removed.

Under the Reconciliation Summary, the Book Balance uses the GL Account Balance as of the Reconcile Period/Year.

To load previous statements that are either Open or Reconciled, you can select the Browse icon ( ) beside the Statement Date field and then select a Statement Date.
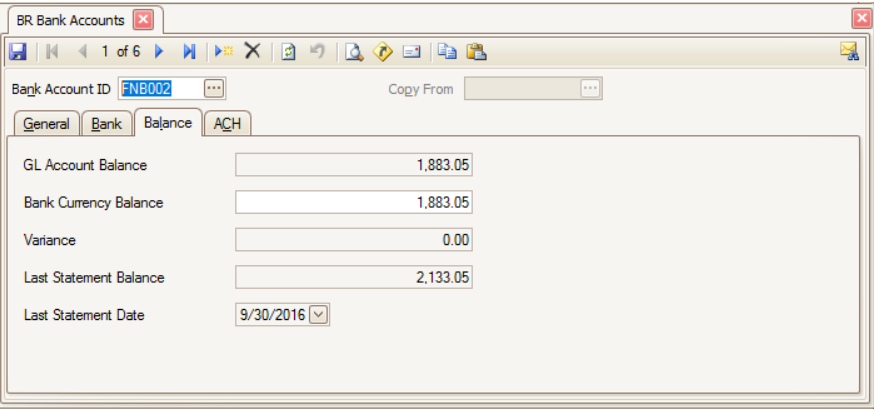
In System Manager and Bank Reconciliation Bank Accounts, the Last Statement Balance and Last Statement Date fields are no longer enabled. They are populated from the Cleared Transactions function.
Notes:
- Accounts Payable and Payroll payments still cannot be voided if they have been Cleared in Bank Reconciliation.
- If payments have been voided in Accounts Payable or Payroll, Bank Reconciliation entries are marked as Cleared since they will never appear on a Bank Statement.