Traverse Global v11.2 - Service Repair
Labor Types
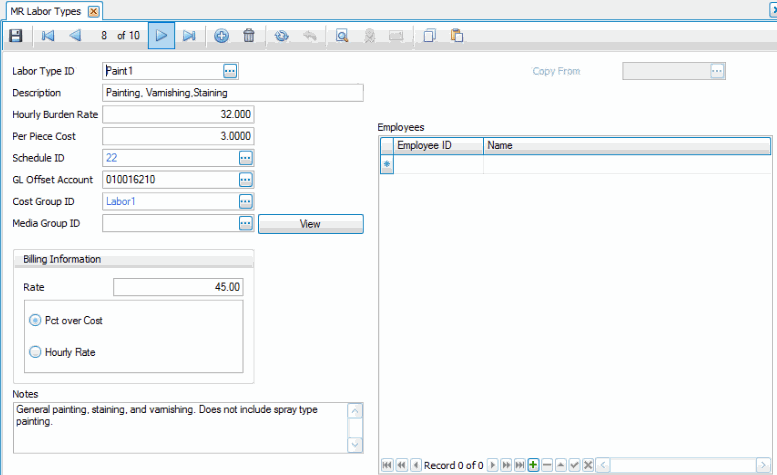
Labor is an important factor in many manufacturing processes. Labor types define the skill level or grade that can be applied to specific processes. Associated with the labor type is a rate by the piece or by the hour. You can assign multiple employees to a specific labor types, and you can assign specific employees to multiple labor types. You can assign labor types to operations to calculate the labor costs involved.
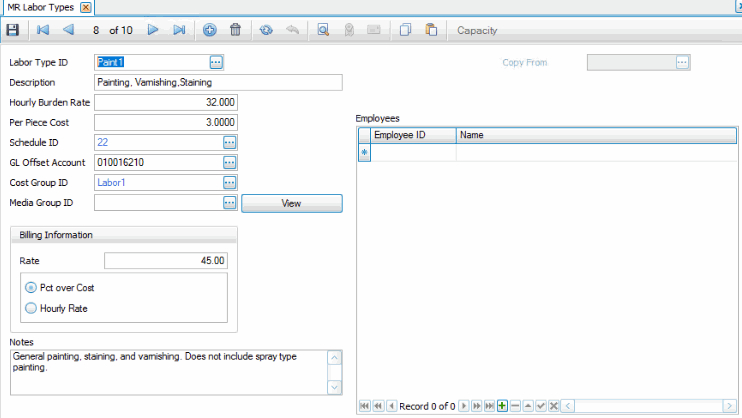
If you use Capacity Scheduling, a Capacity command button will be available on the toolbar. If the CS Schedule by Labor business rule is set to 'Yes', this function allows you to maintain the capacity of the resource. The scheduling engine uses this capacity, and any capacity adjustment, for generating a capacity schedule. The Capacity button opens a Resources Detail screen, which is the Resources maintenance screen from the CS Setup and Maintenance menu with the Resource Type and ID fields disabled. See the Resources topic for more information.
Creating a Labor Type
- Click the New button, on the toolbar, to open a blank labor type record.
- Enter a new labor type ID in the Labor Type ID field. To copy labor type information from a similar record for a new labor type, select an existing labor type record from the Copy From field.
- Enter a description of the new labor type in the Description field.
- Enter a burden cost per hour in the Hourly Burden Rate field. This cost is multiplied by the actual or estimated time to determine the total labor cost.
- Enter a cost per piece value in the Per Piece Cost field. This cost is multiplied by the actual or estimated number of pieces required to be built to determine the total labor cost.
- Select a schedule that best represents the work center's availability from the Schedule ID field.
Note: You can set up a unique schedule for each work center, or you can set up a general schedule that uses all labor, machine, and work center loads throughout your company. - If Routing and Resources interfaces with General Ledger, select the account to credit as an offset in conjunction with any labor costs calculated by this labor type from the GL Offset Account field. As labor costs accrue, they are posted to WIP and eventually that WIP is posted to General Ledger as a debit to finished goods. These costs are saved into inventory as finished goods are produced and that activity is posted. The offsetting entry is credited to this GL Offset Account, which serves as an offset against normal payroll expense accounts.
- Select the cost group to which you want to assign the labor type from the Cost Group ID field. Cost groups enable you to break down costs in any way you choose. When you view the Cost Details from the General tab on the Bills of Material screen, all costs for the bill are summarized by cost group. You can assign all cost areas to the same cost group, break down costs into labor, machine, overhead, and materials, or break them down by labor, machine, overhead, and material types.
- Select the media group documents associated with this labor type from the Media Group ID field. Click the View button to view the primary media file. Media Groups are set up using the Manufacturing Bill of Material application.
-
Enter the Billing Information Rate as a Pct over Cost or a Hourly Rate. The billing rate is for your information only and is not currently used by the Production module.
Select whether you want to calculate the billing rate by using the rate you entered above as a percentage over the calculated cost or strictly as an hourly rate. The field is for your information only and is not currently used by the Production module.
- Enter any additional notes, warnings, or instructions relevant to this labor type in the Notes field.
- Add the employees who have the skill level to work as this labor type to the Employees section, as applicable. No costing or other information is derived from this. The employees listed in the search box will be from either Payroll (if Routing and Resources is interfaced to Payroll) or System Manager employee setup.
- Click the Save button, on the toolbar, to save the new labor type.
Editing a Labor Type
- Select a labor type to edit from the Labor Type ID field.
- Edit the fields as necessary.
- Click the Save button, on the toolbar, to save any edits made to the labor type.
Deleting a Labor Type
- Select a labor type to delete from the Labor Type ID field.
- Click the Delete button, on the toolbar, to delete the selected labor type.
- Click Yes at the "Are you sure you want to delete selected record(s)?" prompt.
Produce a Labor Types List
Use the Labor Types List function to view all the fields of the Labor Types master records.