Traverse Global v11.2
Item Vendors
Use the Item Vendors maintenance function to set up multiple vendors as sources for an item, and include such information as the vendor’s part number, lead time, default unit of measure, discount percentage, and whether the vendor is an active or inactive source for an item.
The Item Vendors function also supports quantity cost breaks for a vendor or a group of vendors, similar to the price breaks functionality in the pricing engine. Vendor ordering information you can enter includes a minimum order quantity, order increment, base cost, cost break ID, and effectivity dates. See the Item Vendors Overview for more information.
Once you have vendors, items, and cost breaks set up, you can associate items with vendors in the Item Vendors function. Open the function from the Inventory | Setup and Maintenance menu.
Use the View button on the toolbar to switch between viewing by item or viewing by vendor. Viewing by item allows you to add vendors for a selected item, and see all the vendors that supply the item. Viewing by vendor allows you to see all items supplied by a selected vendor.
Add vendors to item
You can add vendors for a select item by choosing view by Item using the View button on the toolbar, and selecting an Item ID for which you want to enter source vendors.
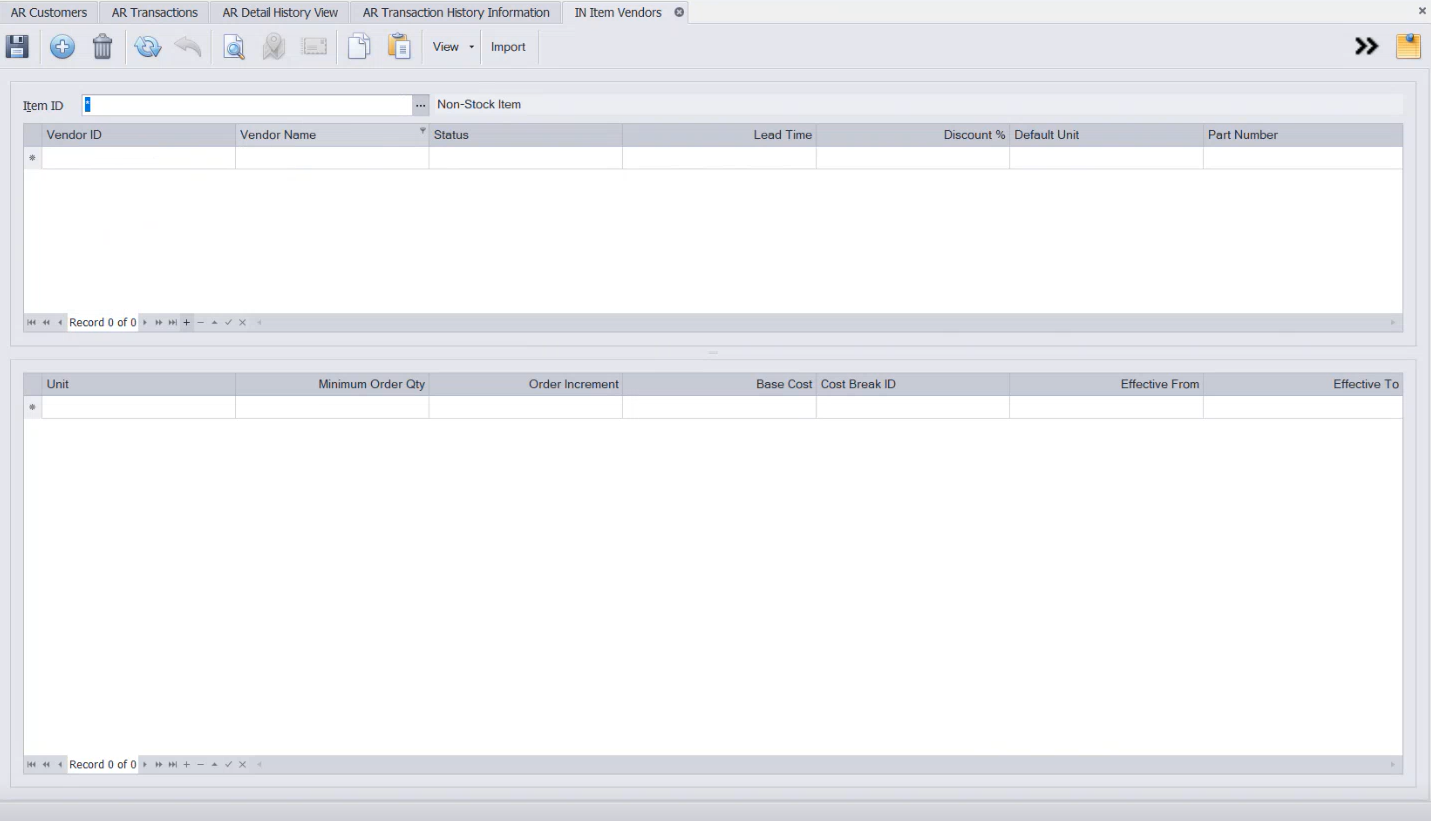
Once you select an item for which you want to enter vendors:
- Select a source vendor in the Vendor ID column in the top section.
-
Click Import button, on the toolbar, to Open the Import Mapped Data function on the System Manager menu.
- Select an active or inactive Status for the vendor.
- Enter the Lead Time for the item: the number of days it takes to receive the item from the vendor.
- The Discount % is the default discount percent you may receive from the vendor, such as via a contract with a standard percentage off on every order. Enter the standard discount you receive from that vendor, if any.
- The Default Unit is the default purchase unit of measure as listed for the item in the Unit Defaults tab of the item maintenance screen. You can change this, if necessary. This allows you to set a different default unit for each vendor.
- Enter the vendor’s Part Number for the item. This may also be one of the item’s vendor type aliases.
- You have the option of entering the last date you reviewed your contract with the vendor and a vendor rating by toggling (
 ) to the detail view of the top section. The Rating and the Review Date are for information only.
In the lower section of the screen:
- The item’s units of measure listed on the item maintenance screen are available to choose from in the Unit drop-down list. Select a unit.
- Enter the Minimum Order Quantity.
- Enter the Order Increment.
- Enter a Base Cost for the item. This information may also be found in the item maintenance screen on the Loc Defaults tab.
- If you get cost breaks for quantity purchases of the item, select a Cost Break, and enter the time frame during which the cost break is valid in the Effective From and To fields, if applicable.
- If the item has multiple purchase units of measure, add a record for each unit. Save the record.
To add another vendor, select a new Vendor ID in the top section of the screen. Repeat the process for each source vendor for the item.
Add items to vendor
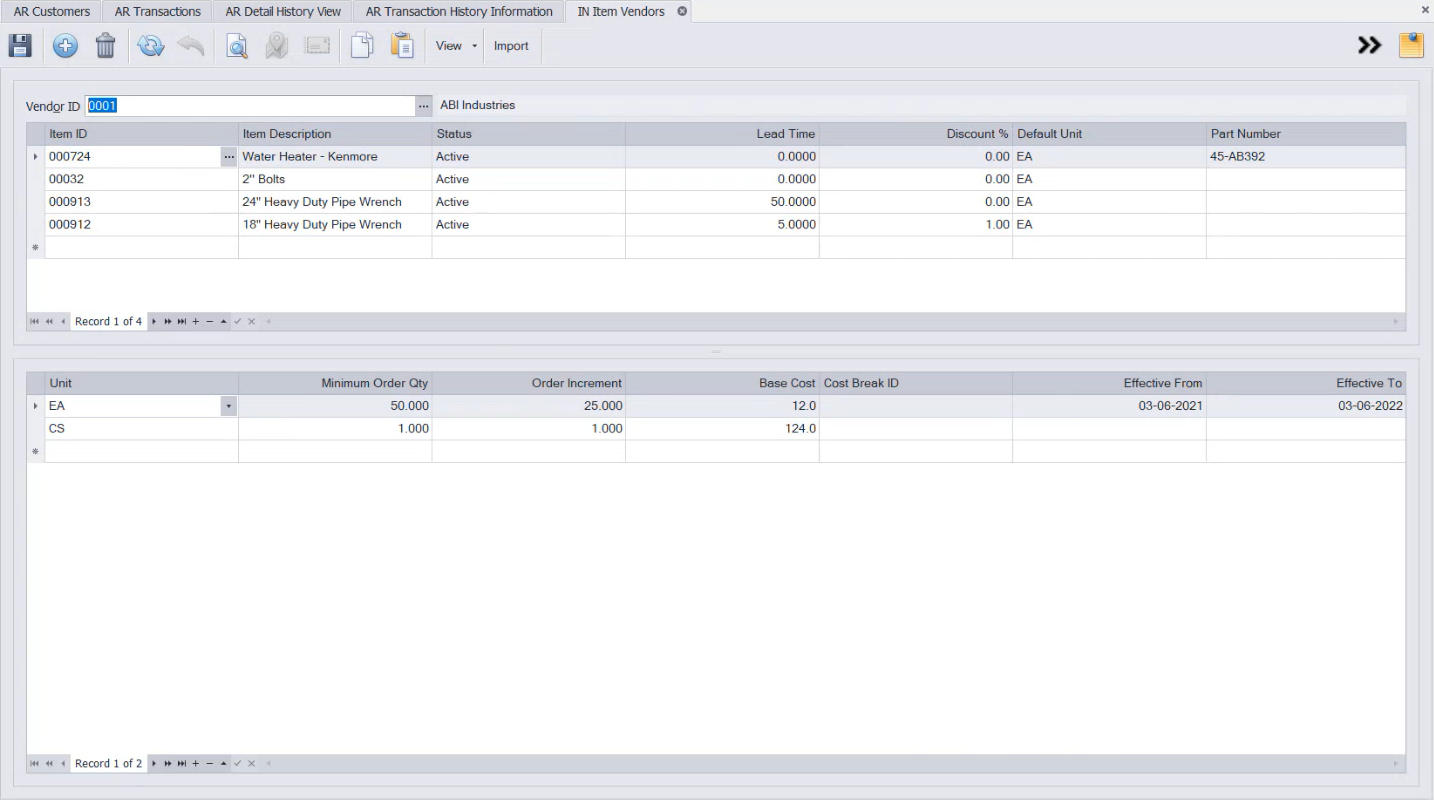
If you have a vendor that supplies multiple items, you can add items to a selected vendor by choosing view by Vendor using the View button on the toolbar, and selecting a Vendor ID for which you want to enter items.
In the top section, once you select a vendor from which you order multiple items:
- Select an item you buy from that vendor in the Item ID column.
- Click Import button, on the toolbar, to open the Import Mapped Data function on the System Manager menu.
- Select the Status (active or inactive) for the item.
- Enter the Lead Time for the item: the number of days it takes to receive the item from the vendor.
- The Discount % is the default discount percent on that item that you may receive from the vendor, such as via a contract with a standard percentage off on every order. Enter the standard discount you receive for that item, if any.
- The Default Unit is the default purchase unit of measure as listed for the item in the Unit Defaults tab of the item maintenance screen. You can change this, if necessary. This allows you to set a different default unit for each vendor.
- Enter the vendor’s Part Number for the item. This may also be one of the item’s vendor type aliases.
- You have the option of entering the last date you reviewed your contract with the vendor and a vendor rating by toggling () to the detail view of the top section. The Rating and the Review Date are for information only.
In the lower section of the screen:
- The item’s units of measure listed on the item maintenance screen are available to choose from in the Unit drop-down list. Select a unit.
- Enter the Minimum Order Quantity.
- Enter the Order Increment.
- Enter a Base Cost for the item. This information may also be found in the item maintenance screen on the Loc Defaults tab.
- If you get cost breaks for quantity purchases of the item, select a Cost Break, and enter the time frame during which the cost break is valid in the Effective From and To fields, if applicable.
- If the item has multiple purchase units of measure, add a record for each unit. Save the record.
To add another item, select a new Item ID in the top section of the screen. Repeat the process for each item you purchase from the vendor.