Traverse Global v11.2
Calendar View
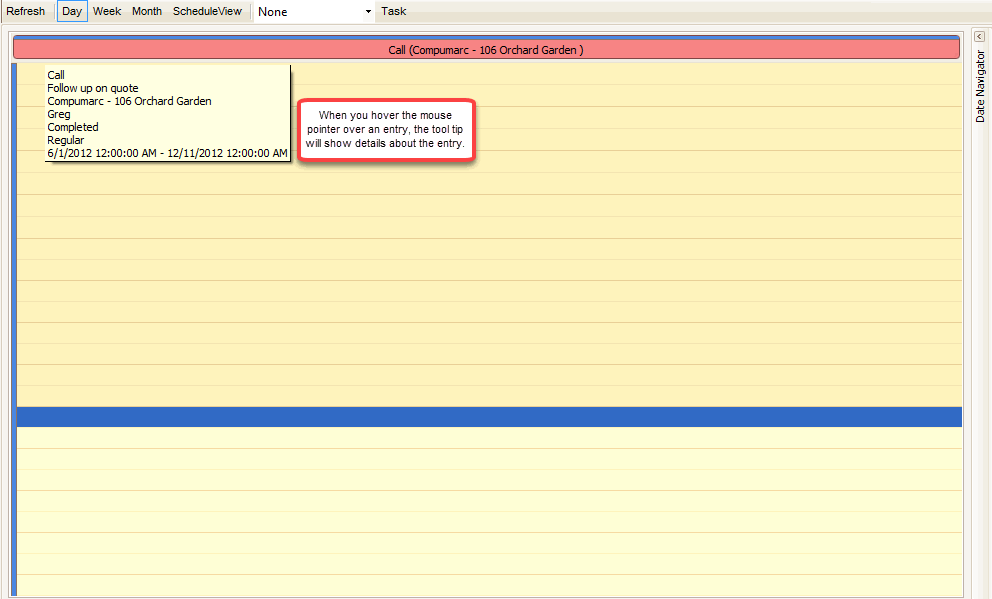
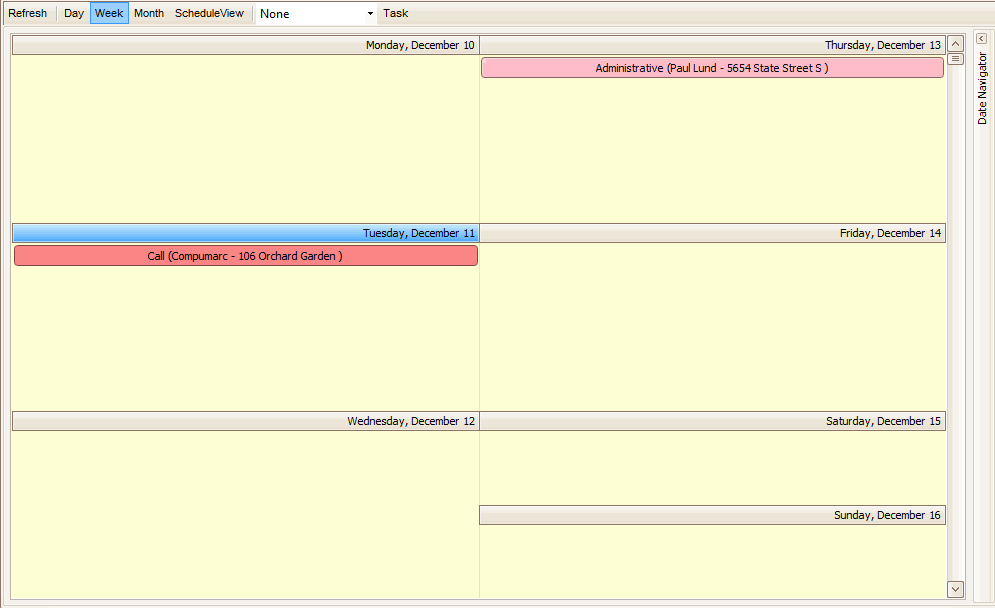
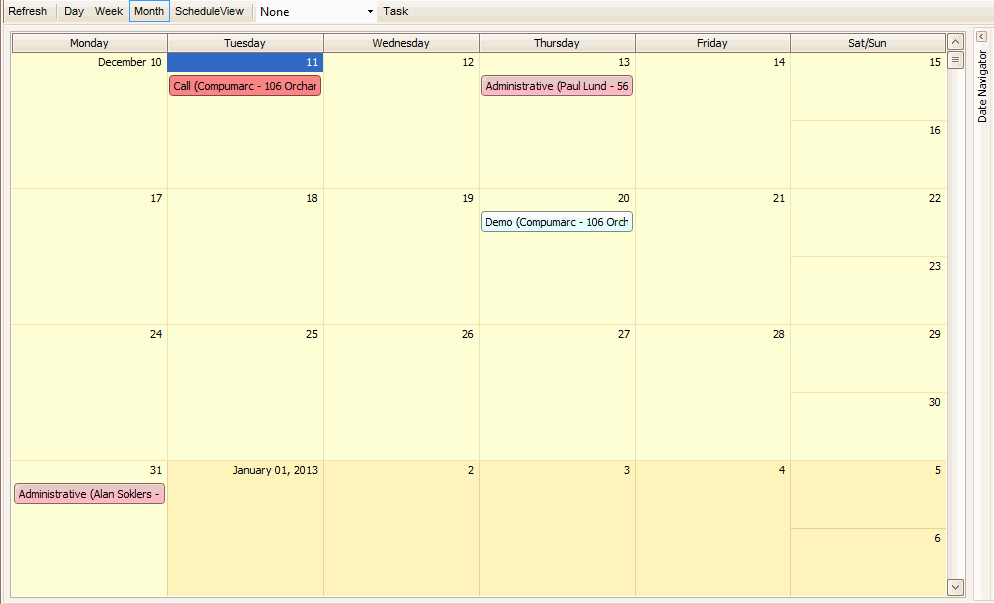
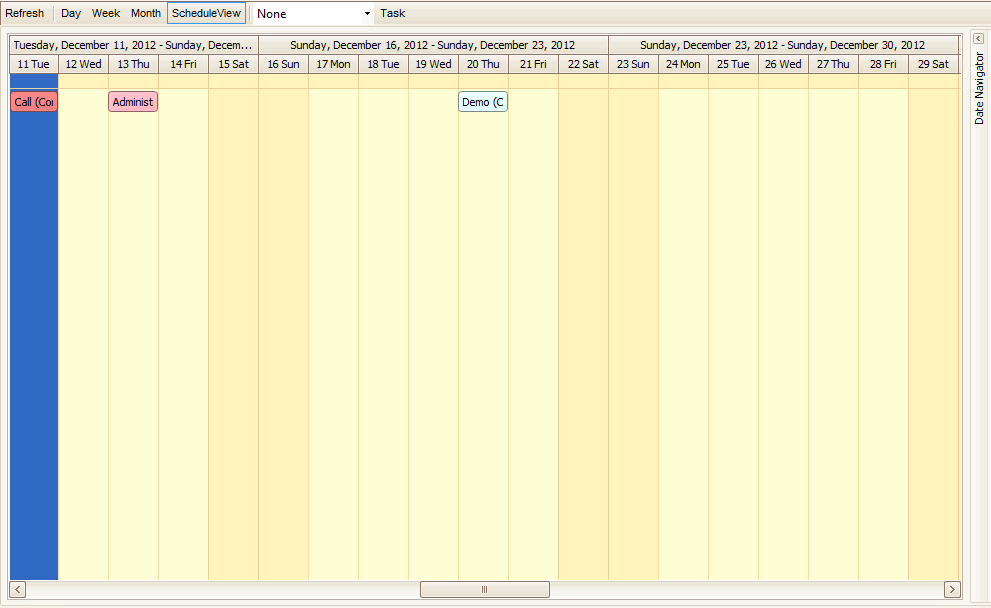
The Calendar function provides you with the ability to visually review Tasks as scheduled. You can add Tasks, or change the scheduling for them in the Calendar function. By using the buttons at the top of the calendar window, you can Refresh the calendar or choose to view the calendar by Day, Week, Month, or Schedule. You can also sort the calendar by Resource or by Date.
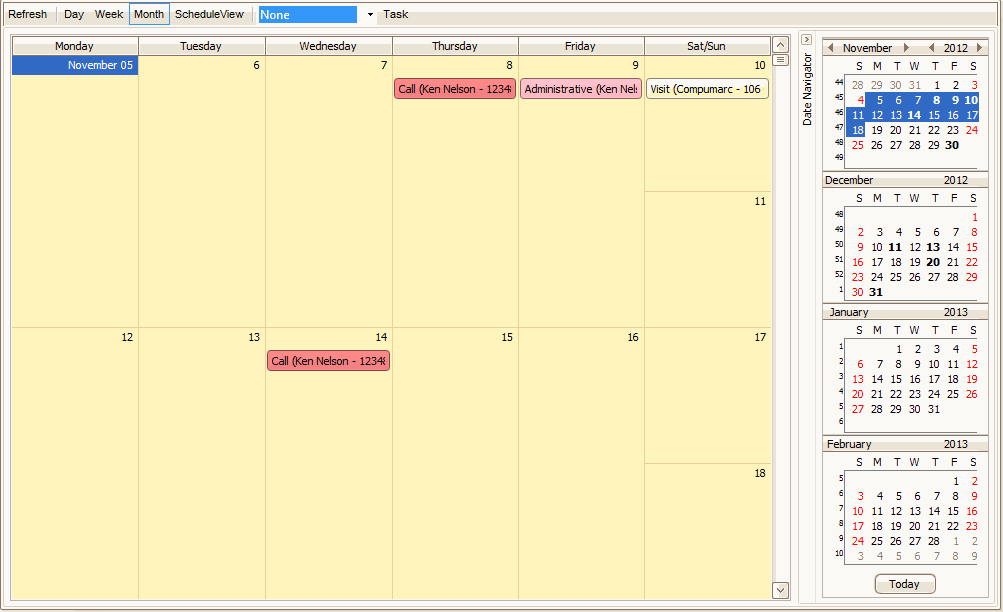
- The center portion of the calendar window displays the calendar, including color-coded entries for Employees. To adjust the amount of information you can see on the calendar, use the plus (
 ) and minus (
 ) buttons on the lower right border of the center portion of the calendar, if available. Double-click on any calendar entry to open the Manage Tasks window for that entry, where you can change who the Task is Assigned To, Contact, Start or Due Dates, or add Notes to the entry.
 - The sliding Date Navigator on the right side of the calendar window displays full monthly views of the current month plus one month previous to today's date, as well as a few months into the future. This gives you a quick, convenient reference to help you schedule your Tasks.
- You can show or hide the sliding menus with the arrow buttons at the top of the menu borders.
- Select the Task button to return to the Manage Tasks screen.
There are many ways you can change how the calendar looks to give you the best view of your scheduled Tasks:
- The side panels can be hidden to allow more room for the main central panel. Use each panel's Hide-Show buttons (
 ) or (
 ) on the panel's main bar to hide or show the panel.
 - To adjust the width or height of a panel or section, move the mouse over the edge of the panel or section until the cursor becomes a two-headed arrow . Then click and drag the edge of the panel or section until it is the size you want. Release the mouse button to stop sizing the panel or section.
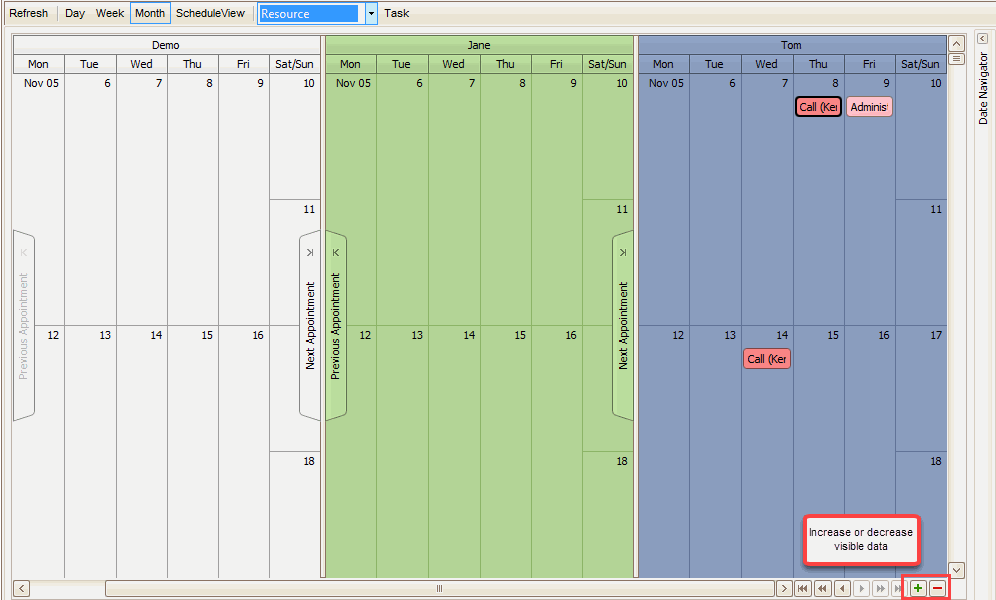
- If you have selected a grouping option for the Schedule View, you will have the option of zooming in or out of the calendar to see more or less data. Use the increase visible data () or decrease visible data () buttons in the lower right corner of the calendar view's central panel to adjust the amount of data you can see on the calendar in the central panel.
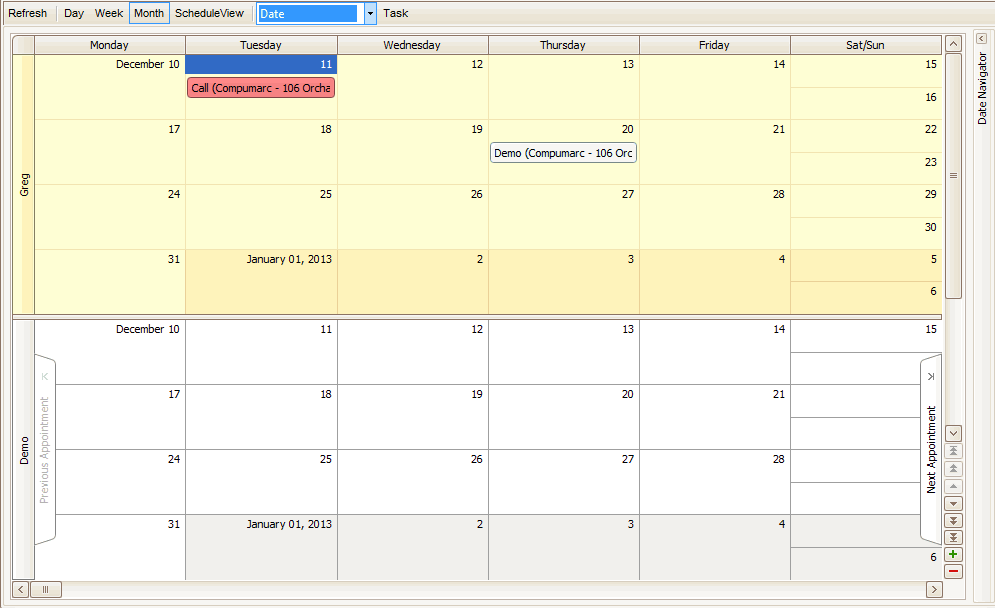
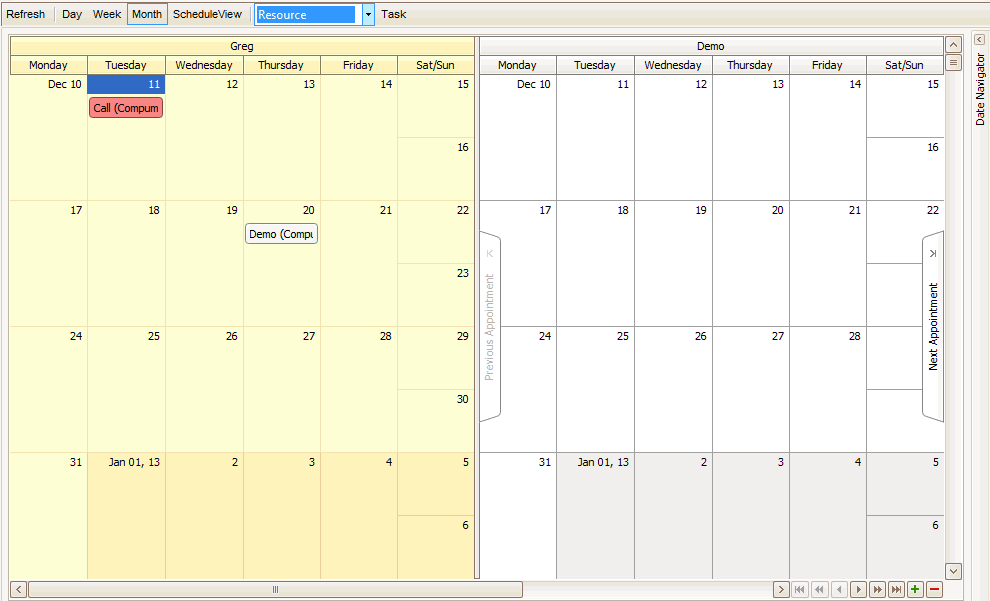
Month view group by resource
Schedule view group by resource
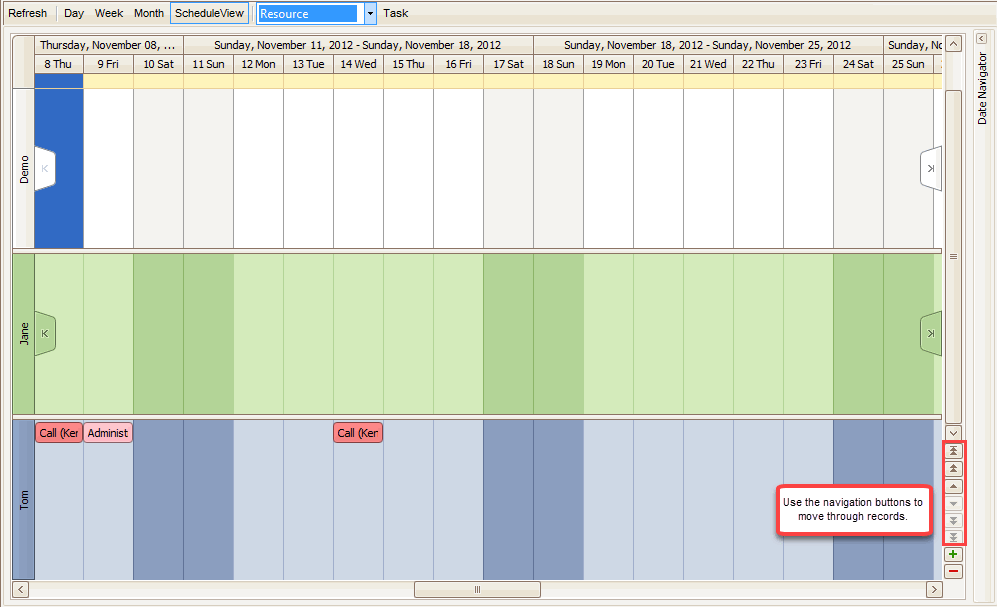
- If you have a grouping option selected for the Schedule View, you can move through the records that make up a group by using the record navigation buttons in the lower right corner of the calendar view's central panel.
When you double-click on a scheduled Task, you are taken to the Manage Tasks screen in the field view format for that task. Edit the Task if necessary.
When you right-click on the calendar, you can use shortcuts on the context menu to perform various actions.
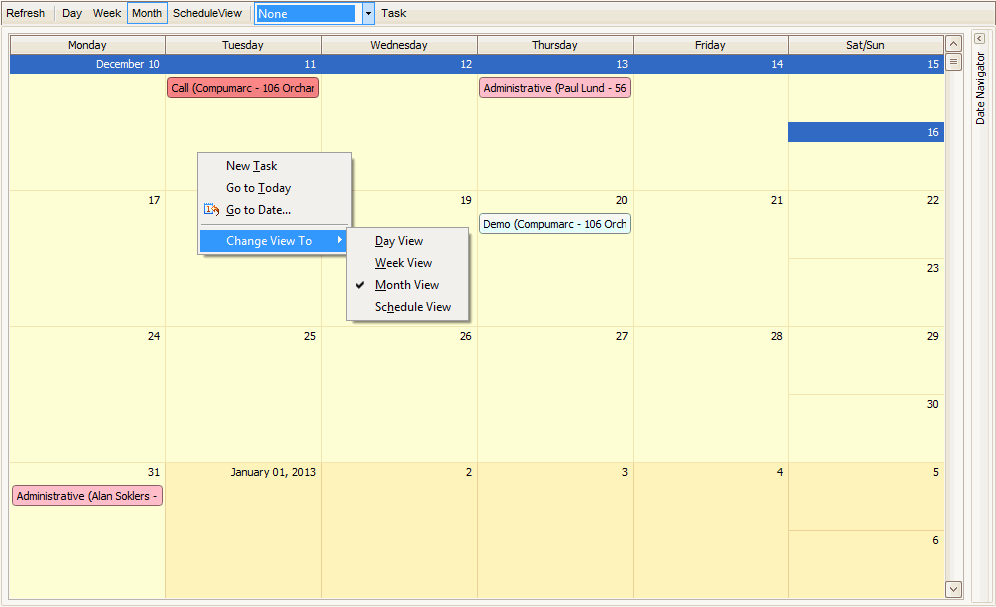
The context menu commands will change depending on where you right-click.
If you right-click when your mouse is on an empty area of the calendar, you will get the following options:
- New Task: Open the function you use to create the Task directly from the calendar
- Go to Today: Jump to today's date
- Go to Date: Jump to a particular date
- Change View To: Change the view of the calendar without using the command buttons at the top of the screen.

If you right-click when your mouse is on a scheduled Task block on the calendar, you will get the following options:
- Open Task: Open the source for the scheduled Task
- Delete Task: Delete the selected Task from the calendar
When you select to group the calendar by Resource, the grouping will rotate 90 degrees from the Date grouping. The Resource will be at the top and the Date or Days will be at the side.
When you select to group the calendar by Date, the grouping will rotate 90 degrees from the Resource grouping. The Date or Days will be at the top and the Resource will be at the side.
