TRAVERSE Global v11.1
Financial Statements
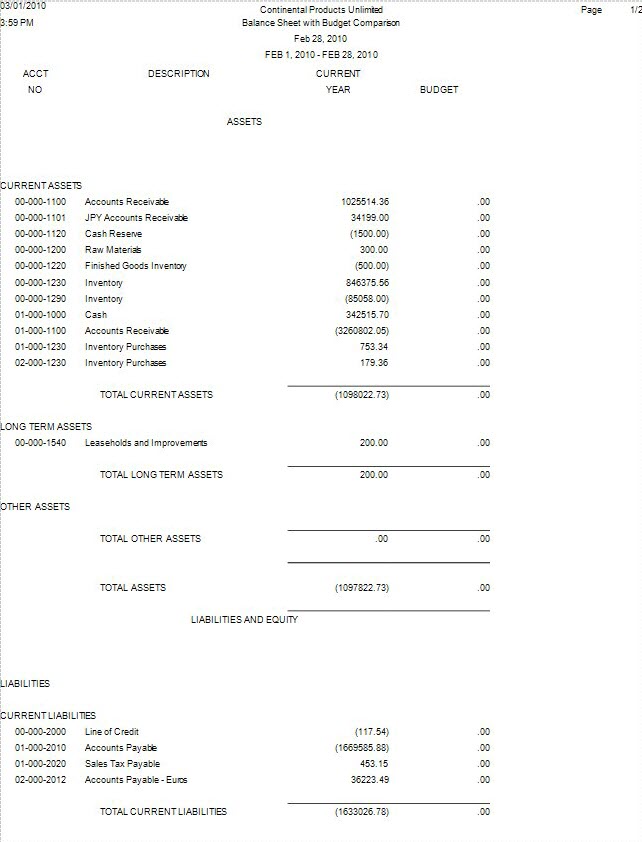
Use the Financial Statements function to produce balance sheets, income statements, and ratio analyses. You might want to produce statements every period for every company. You must set up statements and batch statements using the Statements and Batch Statements functions.
Financial statements are accessed through the Financial Statements function on the Management Reports Menu.
- Use the Statement Layouts function to setup or modify layouts for financial statements.
- Use the Statement Layouts List function to produce a list of defined statement layouts.
- Use the Statement Contents function to setup or modify contents for financial statements.
- Use the Statement Contents List function to produce a list of defined statement contents.
- Use the Statements function to combine both layouts and contents together, creating the layout you will use for your finished financial statement.
- Use the Batch Statements function to combine multiple financial statements together that will be produced at the same time.
- Use the Batch Statements List function to produce a list of defined batch statements.
- You may use the functions on the Management Reports Menu to produce the financial reports you have created, and to provide you with the necessary audit trail for your general ledger application.
If you frequently print the same group of statements for the same companies, you can use the Batch Statements function to set up the printing parameters for the group of statements in a batch statements record. Then, when you print statements, enter the batch statement ID; the system prints the statements set up in the batch statements record.
Before you use the Financial Statements function for the first time, review the sample statement layouts and contents provided with General Ledger. You can use the sample statement layouts and contents to print your own financial statements, modify the samples to suit your needs, or set up your own statement layout, contents, and statements. See Preparing Financial Statements for more information.
Before printing financial statements, make sure that you have entered, corrected, and printed all transactions, and that you have posted them to the GL Master. Then print a Trial Balance Report or an Audit Trial Balance Report to check the account balances. If you find problems, enter adjusting transactions and post them to the GL Master.
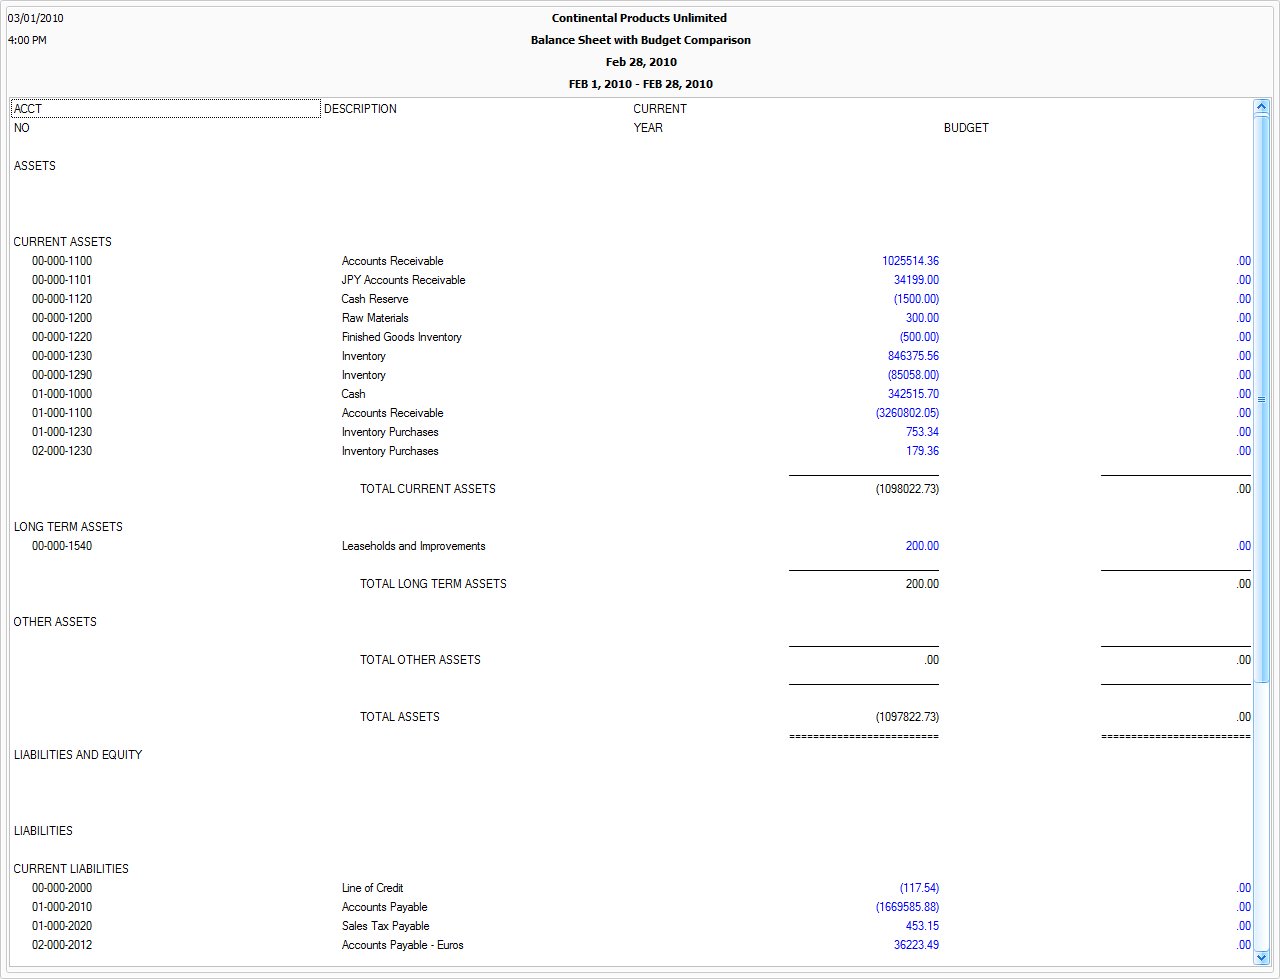
The Financial Statements function includes a command that produces interactive statements you can use the drill-down to the underlying data, allowing you to identify and correct any problems on the fly before printing statements. This command is also useful for data analysis, allowing you to see the components of statement totals. For more information, see Interactive Financial Statements.
- Use the Data Filter to select the range of filtering options or leave the filter blank to include all available data.
- Select a batch statement record from the Batch ID field, if applicable, to print a group of financial statements.
- Select a statement ID from the ID field, if applicable, to print a single statement. If you select a batch ID, you cannot select a statement ID.
- Select the period for which you want to print the financial statement from the Period field.
Note: The statement covers the entire account period to date. - Select the year for which you want to print the financial statement from the Year field.
- Select the company IDs to include in the financial statement from the Companies section if you did not select them in the Statement Layouts function.
Note: If you select one or more companies, you have the following options:- If the selected company is specified in the Statement Contents and Statement Layouts, the account balances for that company are printed.
- If the selected company is not specified in the Statement Contents and Statement Layouts, the account balances for that company are not printed.
- If only one company ID is selected in the Statement Contents and Statement Layouts, balances for that company are printed.
- If more than one company ID is selected in the Statement Contents and Statement Layouts, consolidated balances are printed.
- Select the Segment Detail check box to include segment detail. Clear the check box to summarize the segment detail in the main account.
- Select the Accounts with Zero Balances check box to print all accounts on the report, regardless of their balances.
- Select the Workstation Date and Time check box to include the workstation date and time.
-
Mark the Use Company’s Base Currency check box if you are using multicurrency.
- Manage the sorting order for account IDs using the Account ID Sort section.
- Click a command button to
| Click | To |
| Print the Financial Statements. | |
| Output | Output the statements as PDFs. |
| Send | Save the statements as a PDF and attach it to an email using your default mail program. |
| Preview | View a preview of the Financial Statements. |
| Reset | Set all fields to their default values. |
| Active | View the report in an interactive, drill-down format. |


