Traverse Administrator Guide
Installing the Traverse Client
Before installing the Traverse Client, make sure that you follow the steps to install and set up the Server Manager (see Install Traverse Server Manager for more information).
After you have installed and set up Server Manager, use this section to install Traverse Client.
Note: Traverse v11 Build 14205 and newer clients must be installed on a 64-bit operating system. Earlier clients may be installed on a 32-bit operating system.
Tips:
- Traverse v11 Server Manager, License Manager, and Client installations are distributed in an ISO file. Before you start the installation, you must either burn the ISO file to a CD or DVD or mount the ISO as a virtual drive on the server.
- When available during the installation process, you can click Cancel to exit the procedure or Back to return to the previous window.
Follow these steps to install the Traverse Client:
- To start the installation process, go to the Client directory in the ISO file and run the Traverse.exe file.

- The Traverse installation wizard appears.
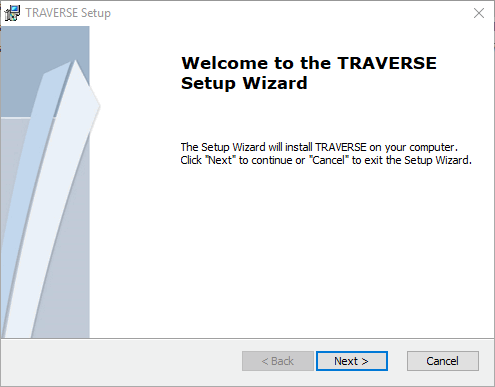
- Click Next to begin the installation. The Installation Type window appears.
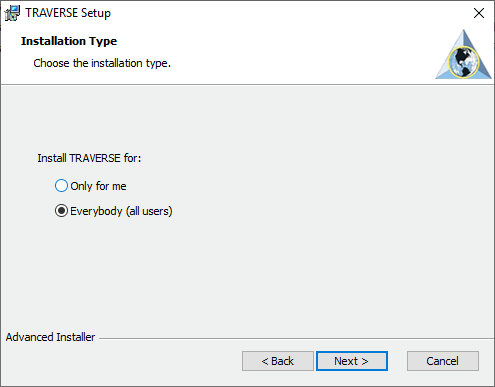
- Select whether you want anyone who uses the computer (all users) to be able to access Traverse or just you. Click Next. The License Agreement window appears.
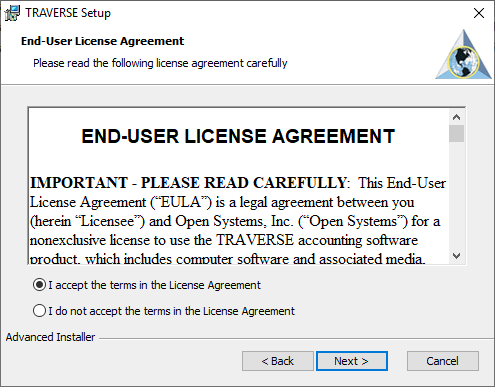
Review the license agreement and click I accept... to accept the terms, or I do not accept... to exit setup.
Click Next to continue.
- The Configure Traverse window appears.
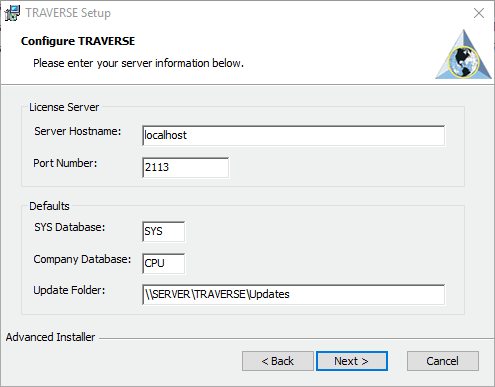
Enter the Server Hostname, Port Number, default SYS Database, and default Company Database for the Traverse Client. Enter the Update Folder location for installing Traverse Updates (if you do not enter an update folder, Traverse will prompt the user for one when needed). Click Next to continue.
- The Choose Setup Type
window appears.
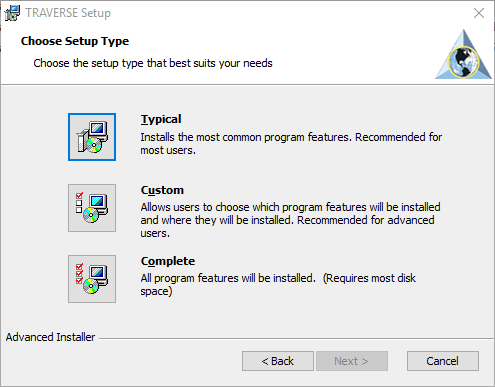
- Select the type of Traverse client installation you want:
- Select Typical to install the client to the default C:\Program Files\Open Systems, Inc\TRAVERSE directory.
-
Select Custom to choose which program features you want installed and where they will be installed.
Note: If you wish to utilize the customizable help features (see Customizable Help on page 1 for more information), select the custom installation option and install the Traverse client in the root directory (for example, the C:\ drive).
- Select Complete to install all optional components to the default directory.
- Click Next to continue.
The Ready to Install screen appears.
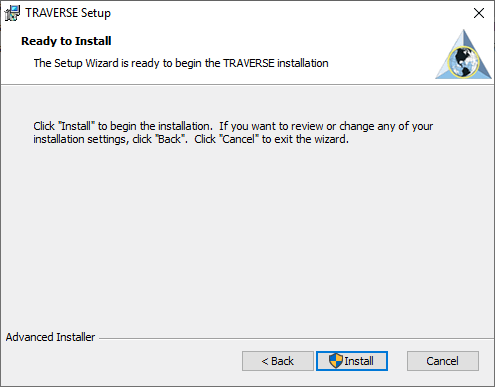
- Click Install to proceed with the Traverse client installation. If necessary, click Back to make changes to the client installation, or press Cancel to stop the installation.
When the installation is finished, the final setup window appears.
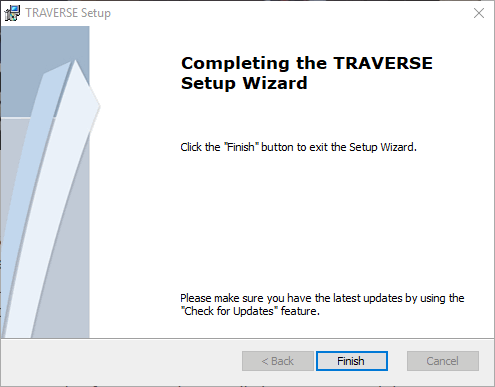
- Click Finish to complete the installation.
