Traverse Standard v11.0
Hold/Release Invoices
Use the Hold/Release Invoices function to change the status of an invoice. You can put an invoice on permanent or temporary hold so that it is not automatically paid when you prepare and print checks. (An invoice on temporary hold is automatically released when you post payments.) You can also release all invoices that are on permanent or temporary hold.
You can pay an invoice at once, change an invoice's due date and discount amount, and split the transaction amount into an unlimited number of payment installments.
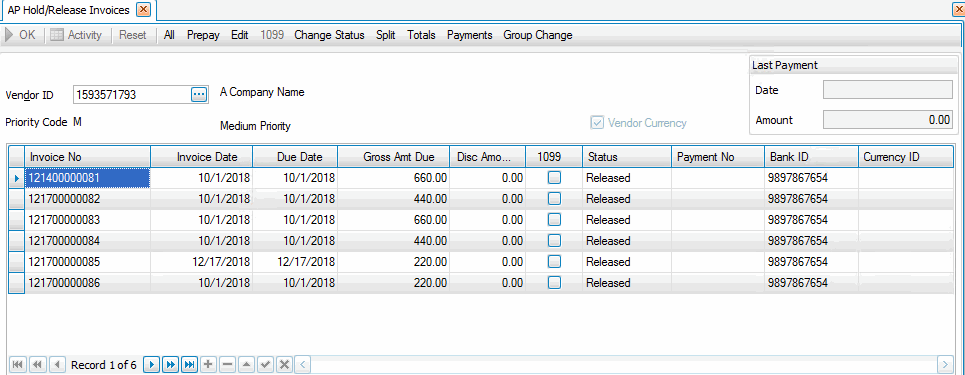
- Select a vendor whose invoices you want to hold or release from the Vendor ID field.
- The Bank ID assigned to the Vendor from the vendor setup is defaulted into the Bank ID field. Accept the default or select the bank account ID you want the invoice to be paid through. If a bank account was not assigned to a vendor the bank ID will be left blank and you may select the bank to pay the invoice through.
- If you want to change the status on all invoices, select All; otherwise, select an invoice and do one of the following options:
- Select Change Status or click the Status field and select the invoice status.
- Select Split to split an invoice or reapply a payment. See the table below.
- Click a command button to
- Print the Open Invoice Report.
The following information about each invoice appears: the Invoice Number, Invoice Date, Due Date, Discount Due Date, Gross Amount Due, Discount Amount, whether a 1099 form is required, the Status, and the Payment Number.
Note: If you want to take away some fields from the screen that are not needed, right click on a column heading and select Column Chooser and drag and drop the column heading from the screen into the Column Chooser window.
| Click | To |
|---|---|
| OK | Begin processing. |
| Activity | Display the Activity Log to view posting activity. |
| All | Change the status of all invoices. When the Change All Status dialog box appears, select the existing status and the new status to change to. |
| Prepay | Pay an invoice. When the Prepay dialog box appears, enter the check number, the check date, and the fiscal period and year for the payment. If you leave the Check No field blank, the invoice acts as if it were paid in cash. Next, enter the bank account to assign to the payment. |
| Edit | Edit the selected invoice. When the Edit dialog box appears, you can change the due date and the discount amount. |
| 1099 | Toggle the invoice's 1099 status. The 1099 column does not appear if the vendor does not receive 1099 forms. Note: You can only toggle the 1099 check box when the status is Released or Hold. |
| Change Status | Change the status of the selected invoice. Continue clicking Change Status until the applicable status appears or double-click the Stat field to toggle the invoice status. |
| Split | Split payments for the selected invoice or debit memo. Enter the payments and due date in the Split dialog box that appears. Note: You cannot split an invoice when the amounts are displayed in the base currency. |
| Totals | View totals for the vendor. You can open the Totals dialog box at all times for reference. |
| Payments | View payment totals. You can open this dialog box at all times for reference. Use this screen to see the invoices that have been included in the prepare payments and any prepaid payments. |
| Group Change | Change the status of a group of invoices. In the Change Invoice Status dialog box that appears, select the range of vendors, the range of priority codes, and the due date of the invoices you want to change. Then select the old status and the new status. |