Traverse Global v11.2 - Service Repair
Inspection Reports Designer
When you choose to print Inspection Report Layout on the Inspection screen, the Inspection Reports Designer window opens.
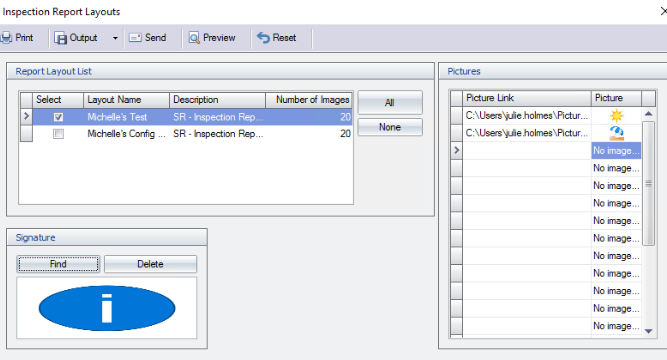
The Inspection Report Designer window allows you to choose which of the report layouts tied to the selected inspection you want to print.
- If there are multiple report layouts (inspections) associated with the selected job transaction/inspection description combination, they will be listed in the Report Layout List box.
- Mark the check box for each layout you want to print. Use the All button to mark all the check boxes, or the None button to clear all the check boxes.
- You can add one signature for each layout. If there is a signature image to go with a layout, use the Find button in the Signature section to browse to the signature image file, which will appear in the Signature box.
- In the Inspection Reporting screen, you tie inspection reports that you designed using the Design Studio Report Designer to inspection configurations. As part of this process, you enter the number of pictures included with the inspection report layout. The Pictures section has a blank record for each picture. To add these pictures to the layout to print, click in the Picture Link column and browse to and select picture files to print with the listed inspection report layouts. The picture files will be listed in the Pictures box. You do not have to add pictures to all the available records.
Click a command button to
| Select | To |
| Print the report | |
| Output | Output the report as a PDF. |
| Send | Save the report as PDFs and attach it to an email using your default mail program. |
| Preview | Preview the report. |
| Reset | Reset all fields and lists to their default selections. |