TRAVERSE Global v11.1
Set up General Ledger Business Rules
Use the Business Rules function to set up options for the General Ledger and the forced-balance password for the Transactions function.
To set up Business Rules, follow these steps:
- Select Business Rules from the System Manager, Company Setup menu.
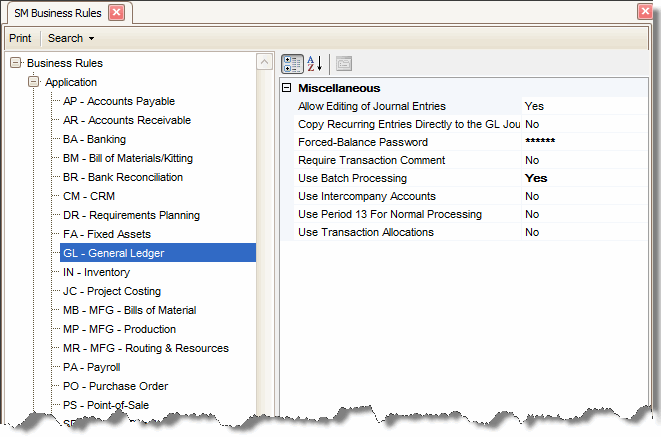
- The Business Rules screen appears. Select General Ledger.
- Select Yes to Allow Editing of Journal Entries to enable transactions to be edited in the Edit Transactions function. Select No to prevent editing transactions in the Edit Transactions and force a reversing entry to be generated from the Edit Transactions function, and put into the Transactions function.
If you select No, you are not able to change any of the information in the Edit Transactions screen and you must click on the reverse transaction button to add a reversal transaction in the Transactions function, where you can then enter a transaction to put the reversal back the way you wish.
- Select Yes to Copy Recurring Entries Directly to the GL Journal. Select No to copy the recurring entries to a temporary transactions table where you can edit them before you post them.
- Enter the Forced-Balance Password for entering an out of balance transaction in the Transactions and Edit Transactions functions. No restrictions or minimums apply.
- Select Yes to Require Transaction Comment when entering manual GL journal transactions. Otherwise, select No to allow writing transactions without entering a comment.
- Select Yes to Use Batch Processing for GL manual journal entries; otherwise, select No.
- Select Yes to Use Intercompany Accounts to automatically transfer GL Journal entries to the correct company when multiple companies use TRAVERSE; otherwise, select No. This section appears only if you have the Not for Profit add-on installed. Use the Intercompany Accounts function to set up these accounts.
- Select Yes to Use Period 13 For Normal Processing to enter transactions; otherwise, select No. The text displaying period number on your screen is the number of periods you have chosen from the Company Information screen plus 1.
- If you select Yes and have an auto-reversing accrual transaction (R1) in the last period, the system will generate a counter entry (R2) into the extra period after the last period defined; otherwise the (R2) entry would be created in the first period of the next year.
- If you select Yes, financial statements that pull in data from periods prior to the beginning of the year, will display the extra period balances; otherwise those extra period balance will be ignored.
- Select Yes to Use Transaction Allocations to distribute transaction values to multiple GL accounts; otherwise, select No. Use the Transaction Allocations function to set up transaction allocation records. This selection appears only if you have the Not for Profit add-on installed.
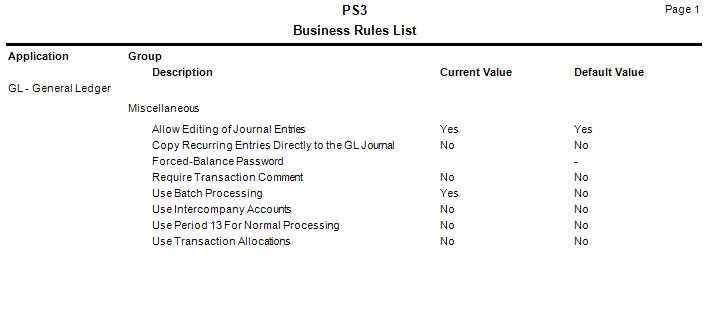
- Click Print to preview and print a report showing your selected business rules.
- Select Apply, OK, or Cancel.

Miscellaneous
Command Buttons
| Name | Description |
|---|---|
| Apply | Save the changes you have made to the business rules functions. The screen will remain open. |
| OK | Save the changes and exit the business rules function. |
| Cancel | Close the business rules screen without saving any changes. |
| Preview and print a business rules report. |
Business Rules Report

Invalid GL Account List
- To check for invalid GL accounts select Invalid GL Account List from the System Audit menu in System Manager.
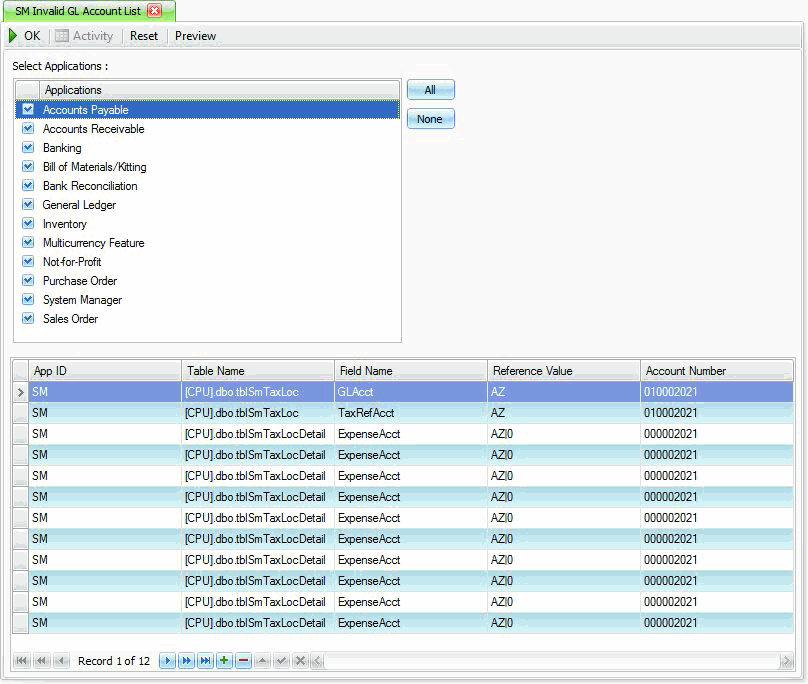
- The Invalid GL Account List screen appears.
- Select the applications you want to check for invalid GL accounts. If you want to have all applications checked click the All button.
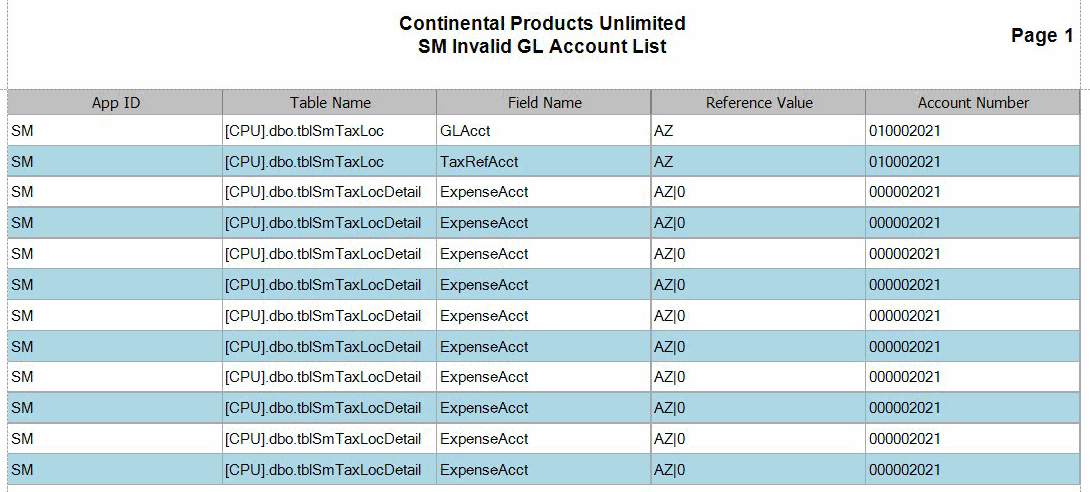
- Click OK to start the search for invalid GL accounts. If one of your selected applications has invalid GL accounts the grid at the bottom of the screen will display the invalid account records.


